Teach-It Tuesday: Gel Nails

One of the number one questions I get asked about is how my nails are always so cute and nicely painted, while having three kids. And the number one reason I never share is because I feel like I am not an expert on this subject. I am not a trained nail technician, and the way I apply my gel polish may not be entirely correct so I don’t want to hear criticism if it’s incorrect.

The truth is: I own a gel nail light. My mom is a hair dresser and I have access to stores that only certified cosmetologists are allowed into. (which is where a good portion of my colors are from). As a mom of three, there isn’t much time to go to the nail salon, so I make sure I can do my own at home!

IMG_2363.jpg

SUPPLIES:

  • Cuticle Remover

  • Cuticle Pusher & Nipper

  • Nail File & File Block

  • Nail Clippers

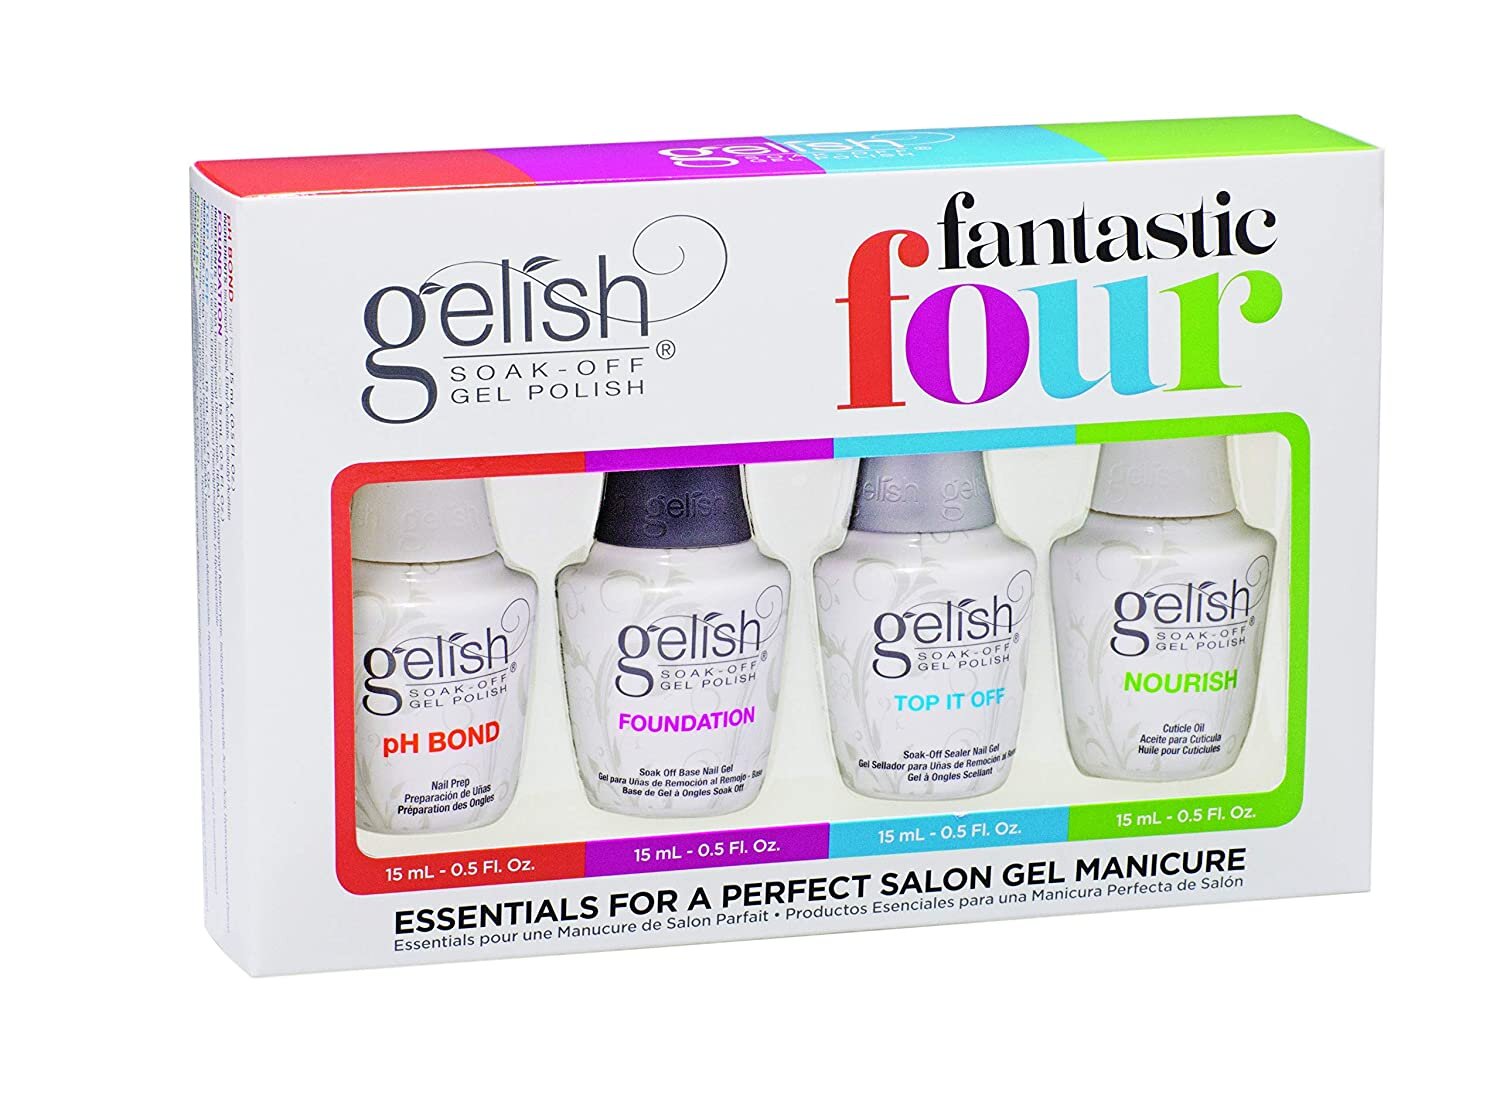
  • Gelish pH Bond, Foundation, Top Coat & Nourish gel

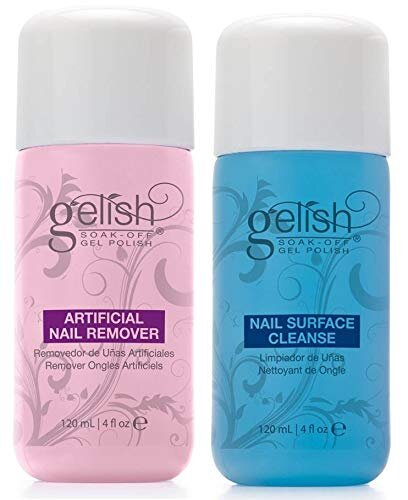
  • Rubbing Alcohol & absorbent Stripes (I actually get waxing sheets and cut them into small strips)

The Process:

  1. Begin by using the cuticle remover, and apply it to the base of your nails. Using the cuticle pusher, gently push back the cuticles. Use the cuticle nipper very carefully and clear away the excess dead cuticle. The idea is not to remove the healthy cuticle, mainly because it will hurt and make you bleed.

  2. Use a nail file and block to create the desired nail shape. [Fun Fact: when filing the tip of your nail, it is not a good idea to saw back and forth at the nail. Only go in one direction.]

  3. Using the same file and block, rough up the surface of the nail. This will help to ensure your manicure lasts longer and has a good surface to adhere to {but don’t go too hard or deep}.

  4. Apply a layer of the pH bond. Let cure in the gel light for 5-10 sec.

  5. Apply a very fine layer of the Gelish Foundation, making sure to have it completely cover the nail and also the tip top of the nail. Then let cure in the gel light for 30 sec. It’s important to note that if you make a mistake and get color or the base or top coat on your skin, a q-tip dipped in rubbing alcohol can clean it up quick.

  6. Now comes the color. Depending on desired pigment apply 1-3 light coats of your color and let cure for 30 secs for each coat.

  7. Finally apply the top coat. Let cure for 30 sec under the gel Light.

  8. Once it is all set, using the stripe and some rubbing alcohol, remove the access and polish each nail. They should be all set and you can touch them immediately.

It’s important to note that if you make a mistake and get color or the base or top coat on your skin, a q-tip dipped in rubbing alcohol can clean it up quick.

So, as I said, I’m not an expert on this. This is merely what I do, and I’m sure there are things I do wrong. I have pretty oily nail beds, so my manicures only last about a week-week & a half before they start to peel up.

I have set up links to all my favorite products on Amazon! Just click on the photos below! And also linked a quick hyperlapse of me painting my nails. :) Hope this helps and please let me know if you have any questions!

Teach-It Tuesday: Wood Slice Fall/Winter Decor Tutorial

I’m pretty excited that I finally am able to get this post done, just in time to line up with my “Teach-it Tuesday” blog series. One of the most asked questions in my DM’s is for tutorials, (handlettering, makeup, hair, eyebrow) and if I’ve learned anything these past few years, if you really want to grow your platform give the people what they’re asking for.

So friends, today I want to help you guys make something fun for your home that will transition from fall into winter!

IMG_4766.JPG

Supplies: (all available at Michaels)
Wood Block
Sharpies (Metallic Silver, Gold & Black)
Black (or white) Acrylic Paint
Paint Brush
Pencil

1. Paint wood block
2. With the pencil, lightly layout the design for your block.
3. Ink in the design with Sharpies
4. Erase pencil lines
5. Style in your home

I’ve shared some of my designs that I have in my home, so you can create your own! More Christmas & Holiday designs will be coming soon!

IMG_4458 copy.JPG
IMG_5236.JPG

All designs are the intellectual property of Jordanne Marie, and is illegal to recreate and sell. Please be kind and don’t steal.

Teach-It Tuesday: 10 Min Hip/Low Back Stretches

With my past two pregnancies, around 20 weeks I started to experience TERRIBLE hip, pelvic and lower back pain. I couldn’t even walk a mile without almost being in tears. I would describe my problems to my doctor and they would just write it off as pain that is common with pregnancy. I would go to the grocery store and end up leaving early, because the pain was so unbearable that I could barely handle pushing the cart. Lots of crying. Lots of frustration, that only got worse the second time around having to chase after an active two year old. I started going to a chiropractor, which was a great temporary fix, but later that night, I was back to the same pain. Turns out I suffer from Symphysis Pubis Dysfunction or (SPD), and no one could give me any answers on how to make it better. 

IMG_0832.JPG

After giving birth to Verona, I still struggled with that back and hip pain, it was so bad that I wasn’t even able to pick up my right foot to get dressed, I could barely handle carrying Verona to and from the car, and walking up and down stairs became almost impossible. It was pretty scary to be 31 years old,  unable to sit on the floor with my kids or take my kids for walks and push them in the stroller. I felt weak. So I decided to take matters into my own hands, bought a stationary bike, started stretching, yoga and taking spin classes and I ended up feeling so strong and the SPD pain was completely gone. 

When I found out I was pregnant in November 2018, I made my husband promise to make sure I don’t give up on cycling and that I stay active. Now at almost 32 weeks, I feel great! Granted, I’m still pregnant and there is always a level of discomfort that comes with that, groans when getting out of bed, getting up off the couch, etc. But last weekend, we almost walked/hiked three miles and there was no complaining on my part. These stretches have helped me immensely, and when I start to feel a little sore, I stop what I’m doing and make sure I stretch to reset my body. I hope these are able to help you as well! 

All you need is a yoga mat, yoga block & have your socks and shoes off!  I’ve linked the ones I have. 

THE ROUTINE 

  • Start with a few rounds of Cat/Cow. (3-4x)

  • In a cross-legged seated position, right foot in front of left, walk your hands forward and keep your back long and straight. Hold for 10 sec. Walk hands to the right and then the left & then back to center, holding for 10 sec each way. Switch feet and repeat. (To modify, I sit in a butterfly pose and use a block on my feet to rest my head) Then I added a few side bends.

  • Lower your body to the mat, feet should be hip width apart, and bridge your back and bum up, then slowly articulate your spine back down to the mat. Concentrate on getting each vertebrae to touch the mat individually, upper back, middle back, lower back. (Repeat 3x)

  • Marching Flow- lift right leg to the sky, cross over left knee letting your leg relax and open up, then back to the sky and back down to the mat. Repeat the same with the left leg. 2x each leg.

  • Repeat again with your right leg, cross over left knee, but this time hold it and press down on your hips making more space in your spine and hips. Then thread the needle, by placing both hands around your left leg and pulling it into your chest, holding for 10 sec. Then slide both legs, and grab your ankles for “cow-face pose on your back” and hold for 10 sec. Place both feet on the mat, reset with a bridge and repeat with the left side.

  • Walk your feet to the edge of the mat, and bring your knees together so you are “pigeon kneed” then drop both legs to the right, then both legs to the left, almost like windshield wipers. Repeat this 4x total. Then both knees to the left and take your left foot and place it on top of your right knee. Repeat on Right side as well.

  • Using your block, place it at the base of your spine, lower back. Pull your right leg to your chest, then stretch your left leg long. Try to rotate your left knee inward to feel more stretch in your hip. Hold for 10 sec. Repeat with other leg.

  • Happy Baby: On your back, grab the inside of your feet and rock from side to side.

  • Come to a seated position, and repeat the second step, seeing how much more loose and open your lower back and hips feel.

Please let me know if this has helped you, or if you would be interested in more posts like this. We need to stay active! I refuse to go back to all that discomfort and back pain, when carving out 20-30 min a day to make yourself a priority is so easy! Happy Tuesday! <3 

Teach-It Tuesday : Thankful Pennant Banner

IMG_6681.JPG

"Thankful" Banner

I am so excited to teach you guys how to make an adorable banner just in time for the holiday season!! And with easy to find supplies!

The Supplies:

4 Coordinating colors of cardstock (cut down to 6x10)
2 sheets of white cardstock (cut down to 8.5x5)
Tombow Dual Brush Pens (& blender) (Any colors you like)
Tombow Twin Permanent Marker 
Tombow Mono Drawing Pen 01
Bakers Twin
Gold Glitter (I used Martha Stewarts brand from Michaels)
Tombow Extreme Adhesive Roller
Mono Multi XL Liquid Glue
Two safety pins (to hang it)

IMG_6646.JPG

First off, cut the white card stock at a diagonal, from the top left corner to the bottom right corner. Then putting it back together and repeating it, cutting from the top right corner to the bottom left corner. 

This will give you two perfect triangles that should measure 5 inches on each side, and then two long triangles (that you will discard). You will want to cut as many white triangles as you will need. I wrote out "Thankful" so I made 8 white triangles.

You will repeat this step with the colored cardstock as well. 

Once all your cardstock is cute to size, you should have 8 triangles of various colors, and 8 triangles that are white.

IMG_6687.JPG
IMG_6688.JPG

Next, poke to holes at the top of the colored paper, and start string the bakers twine through. Before you cut the twine, make sure that you have spaced out all your triangles to their desired distance. 

IMG_6703.JPG
IMG_6714.JPG

Now, take your white triangles and start writing your letters. You can do whatever style you prefer. I start with the lighter color, then add in the darker marker at the top and bottom of the letter. Then using the Tombow blending marker, I just simply blend the two colors together. 

Using the Tombow Permanent marker, I create a border around the letter, and then add a shadow. And using the Mono drawing pen 01, I create some small hash marks inside the shadow box giving it dimension. 

IMG_6723.JPG

Next, using the extreme adhesive, attach the white triangles to the colored triangles, making sure they are centered with the white edge at the top of the triangle. Then, using the liquid glue, run a thin line all the way around the white triangle. Sprinkle on the gold glitter, and shake off the excess, using a small paint brush if needed after it dries. Then using the two safety pins, make a loop on both ends of the twine, & attach with the safety pins! Enjoy! 

DSC_2617.jpg

I believe that a project isn't fun unless you end up covered in glitter some how, so make sure to have fun!! Also, I was lucky enough to get chose to be a finalist for the 2018 Tombow Design Team, and we were asked to create something using their products. With fall in full force, it was a no-brainer for me to create something to go along with all my fall themed decor in the house!! Hope you guys have fun creating! <3