

"Thankful" Banner
I am so excited to teach you guys how to make an adorable banner just in time for the holiday season!! And with easy to find supplies!
The Supplies:
4 Coordinating colors of cardstock (cut down to 6x10)
2 sheets of white cardstock (cut down to 8.5x5)
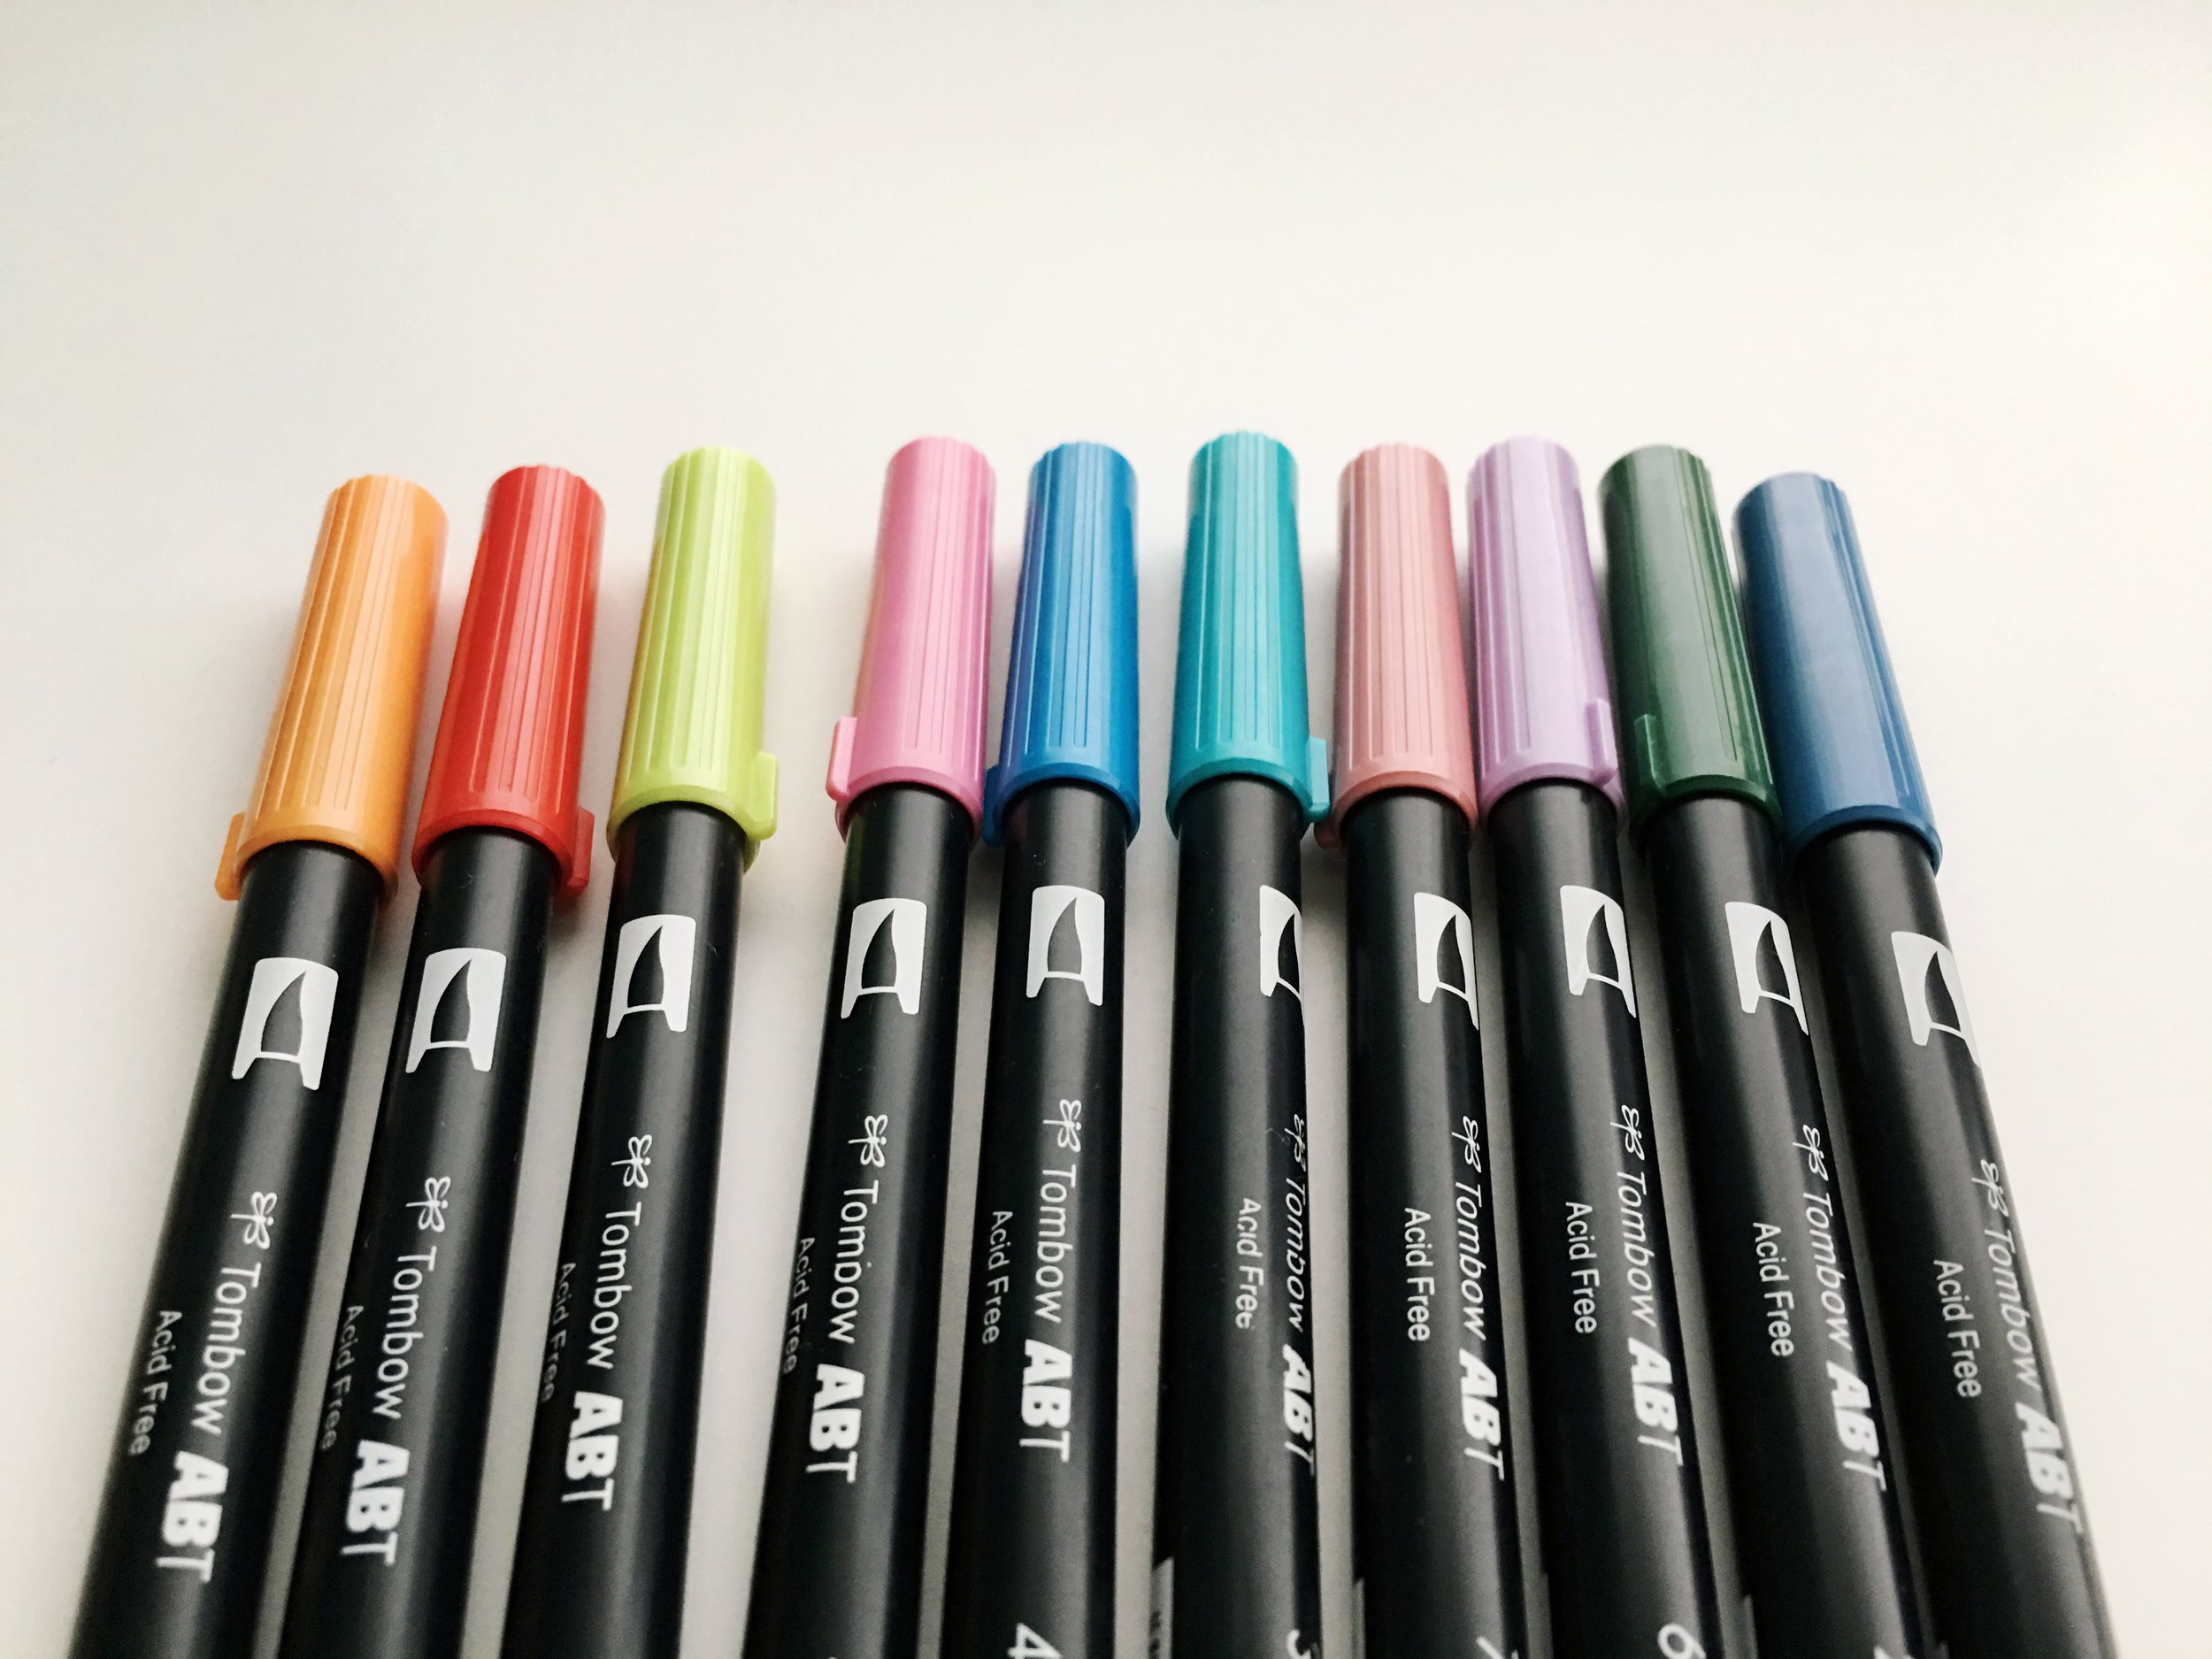
Tombow Dual Brush Pens (& blender) (Any colors you like)
Tombow Twin Permanent Marker
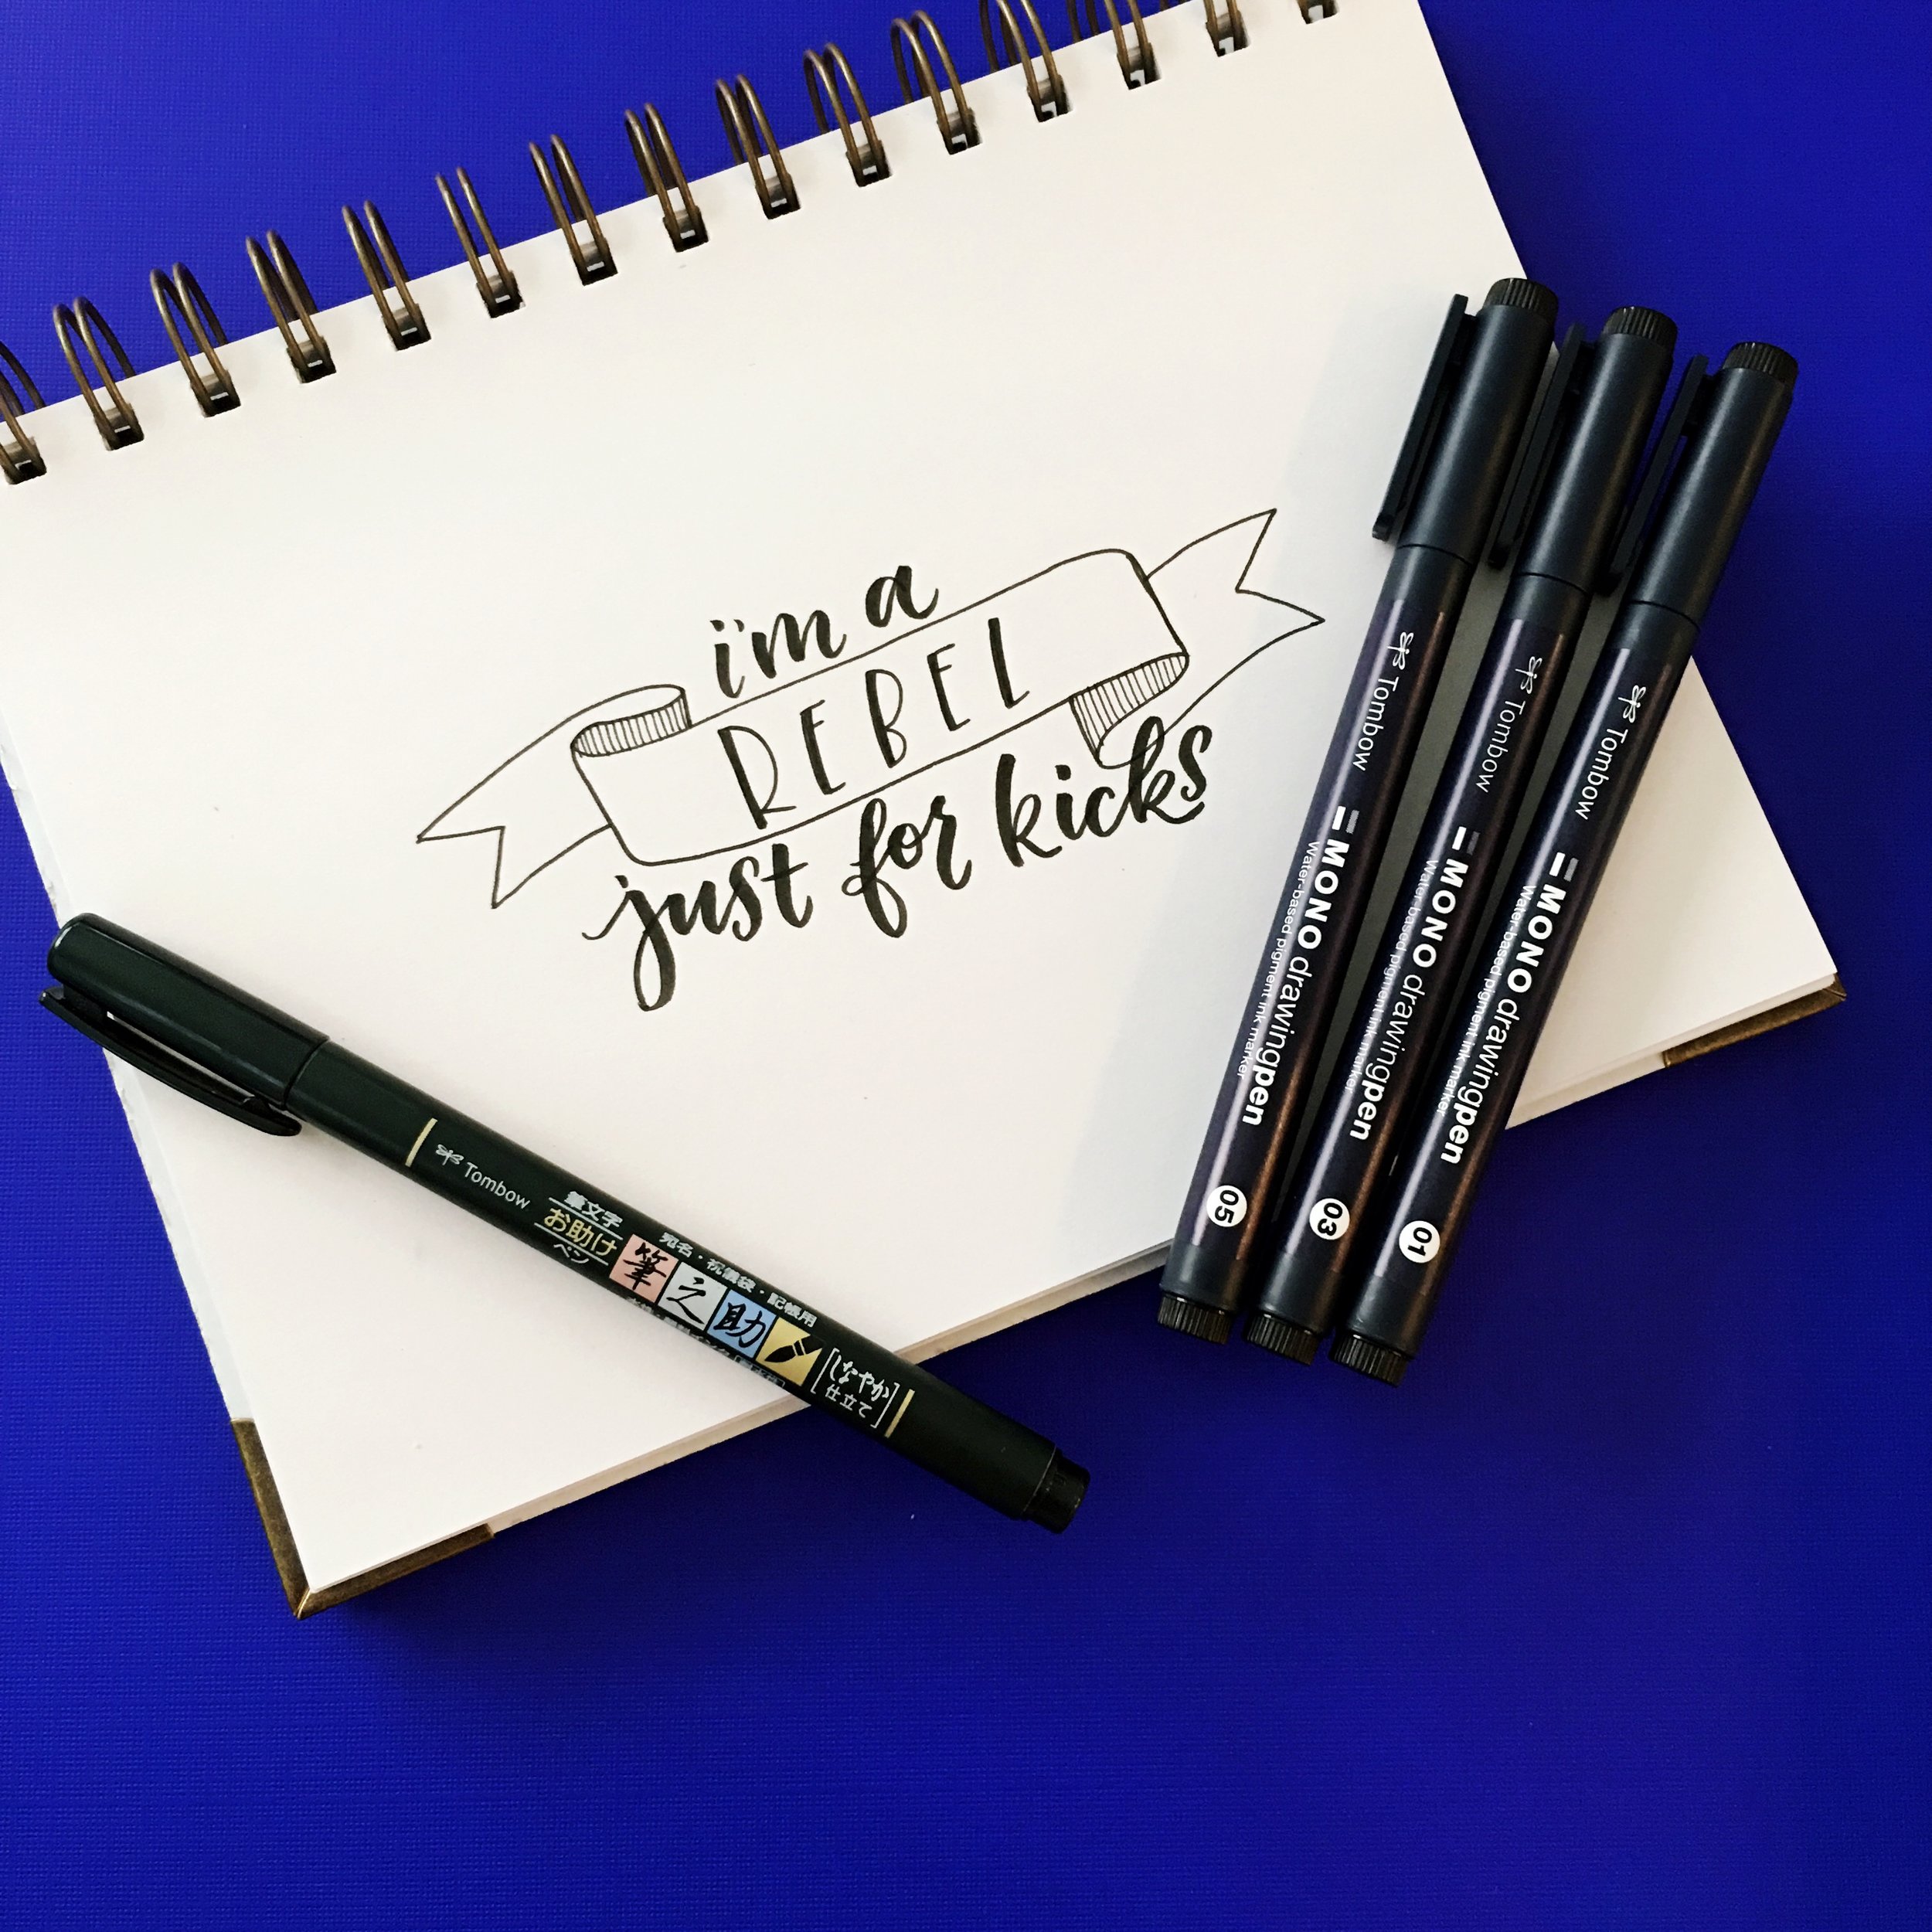
Tombow Mono Drawing Pen 01
Bakers Twin
Gold Glitter (I used Martha Stewarts brand from Michaels)
Tombow Extreme Adhesive Roller
Mono Multi XL Liquid Glue
Two safety pins (to hang it)
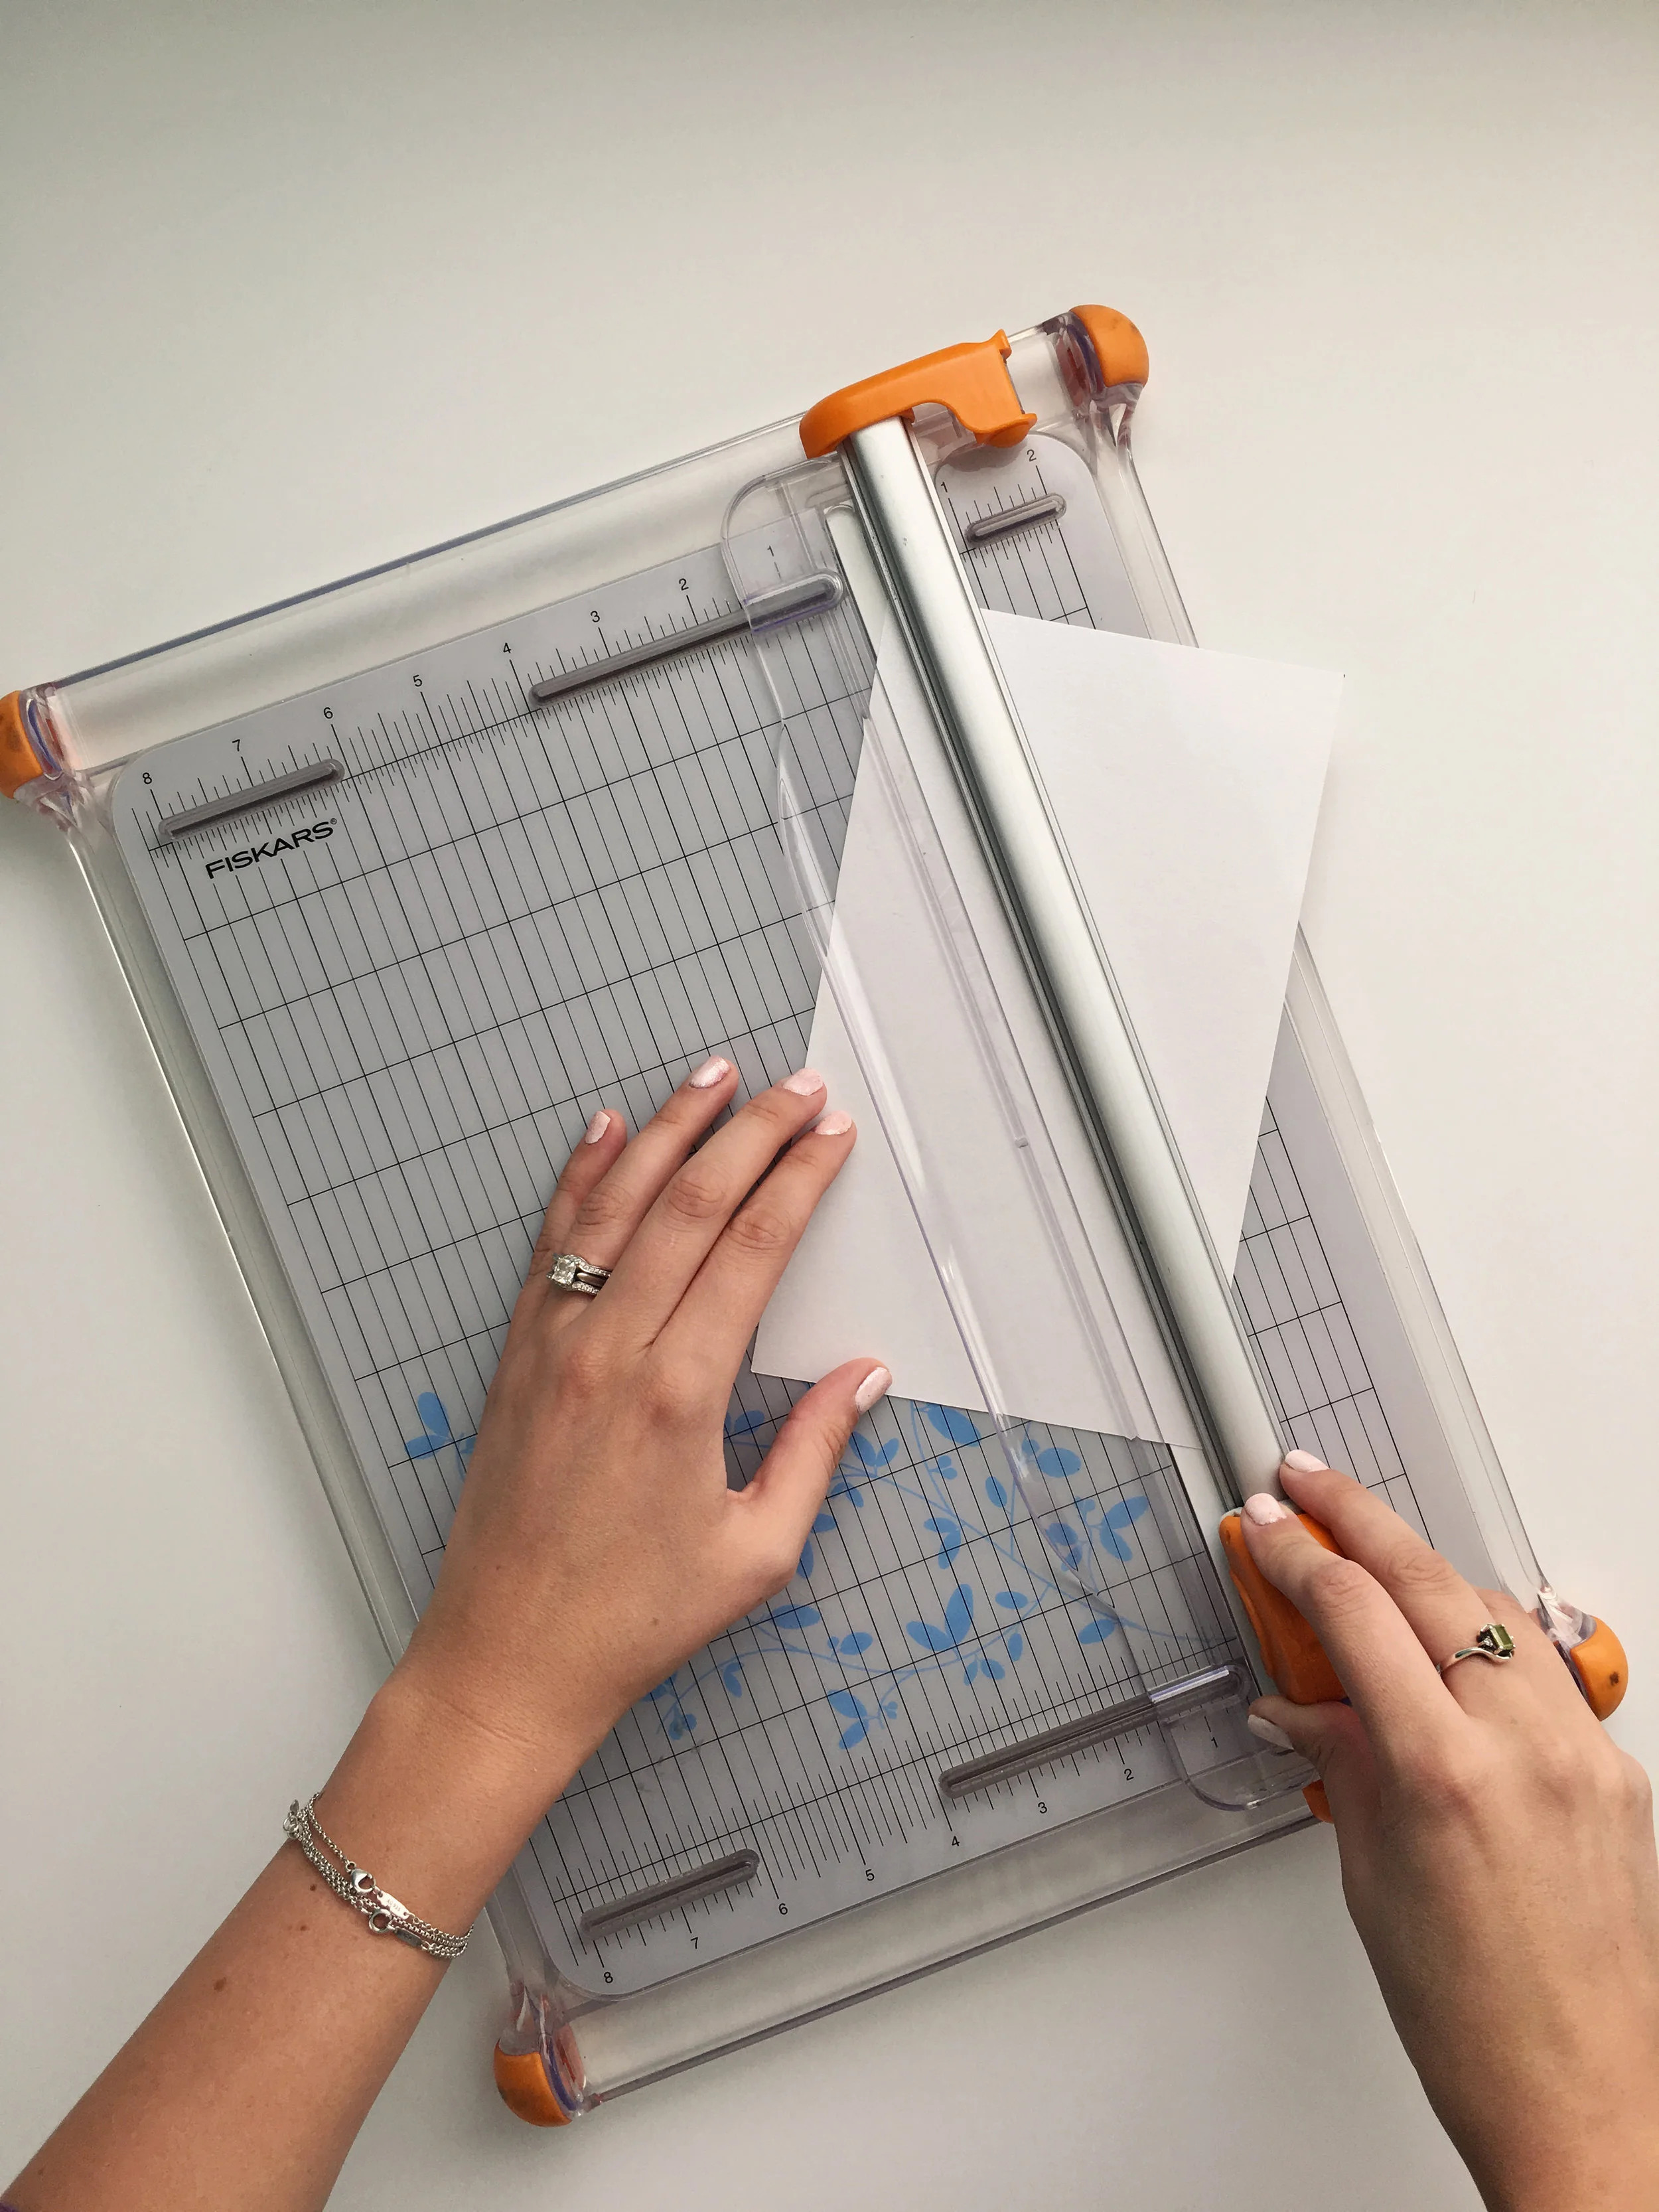
First off, cut the white card stock at a diagonal, from the top left corner to the bottom right corner. Then putting it back together and repeating it, cutting from the top right corner to the bottom left corner.
This will give you two perfect triangles that should measure 5 inches on each side, and then two long triangles (that you will discard). You will want to cut as many white triangles as you will need. I wrote out "Thankful" so I made 8 white triangles.
You will repeat this step with the colored cardstock as well.
Once all your cardstock is cute to size, you should have 8 triangles of various colors, and 8 triangles that are white.


Next, poke to holes at the top of the colored paper, and start string the bakers twine through. Before you cut the twine, make sure that you have spaced out all your triangles to their desired distance.


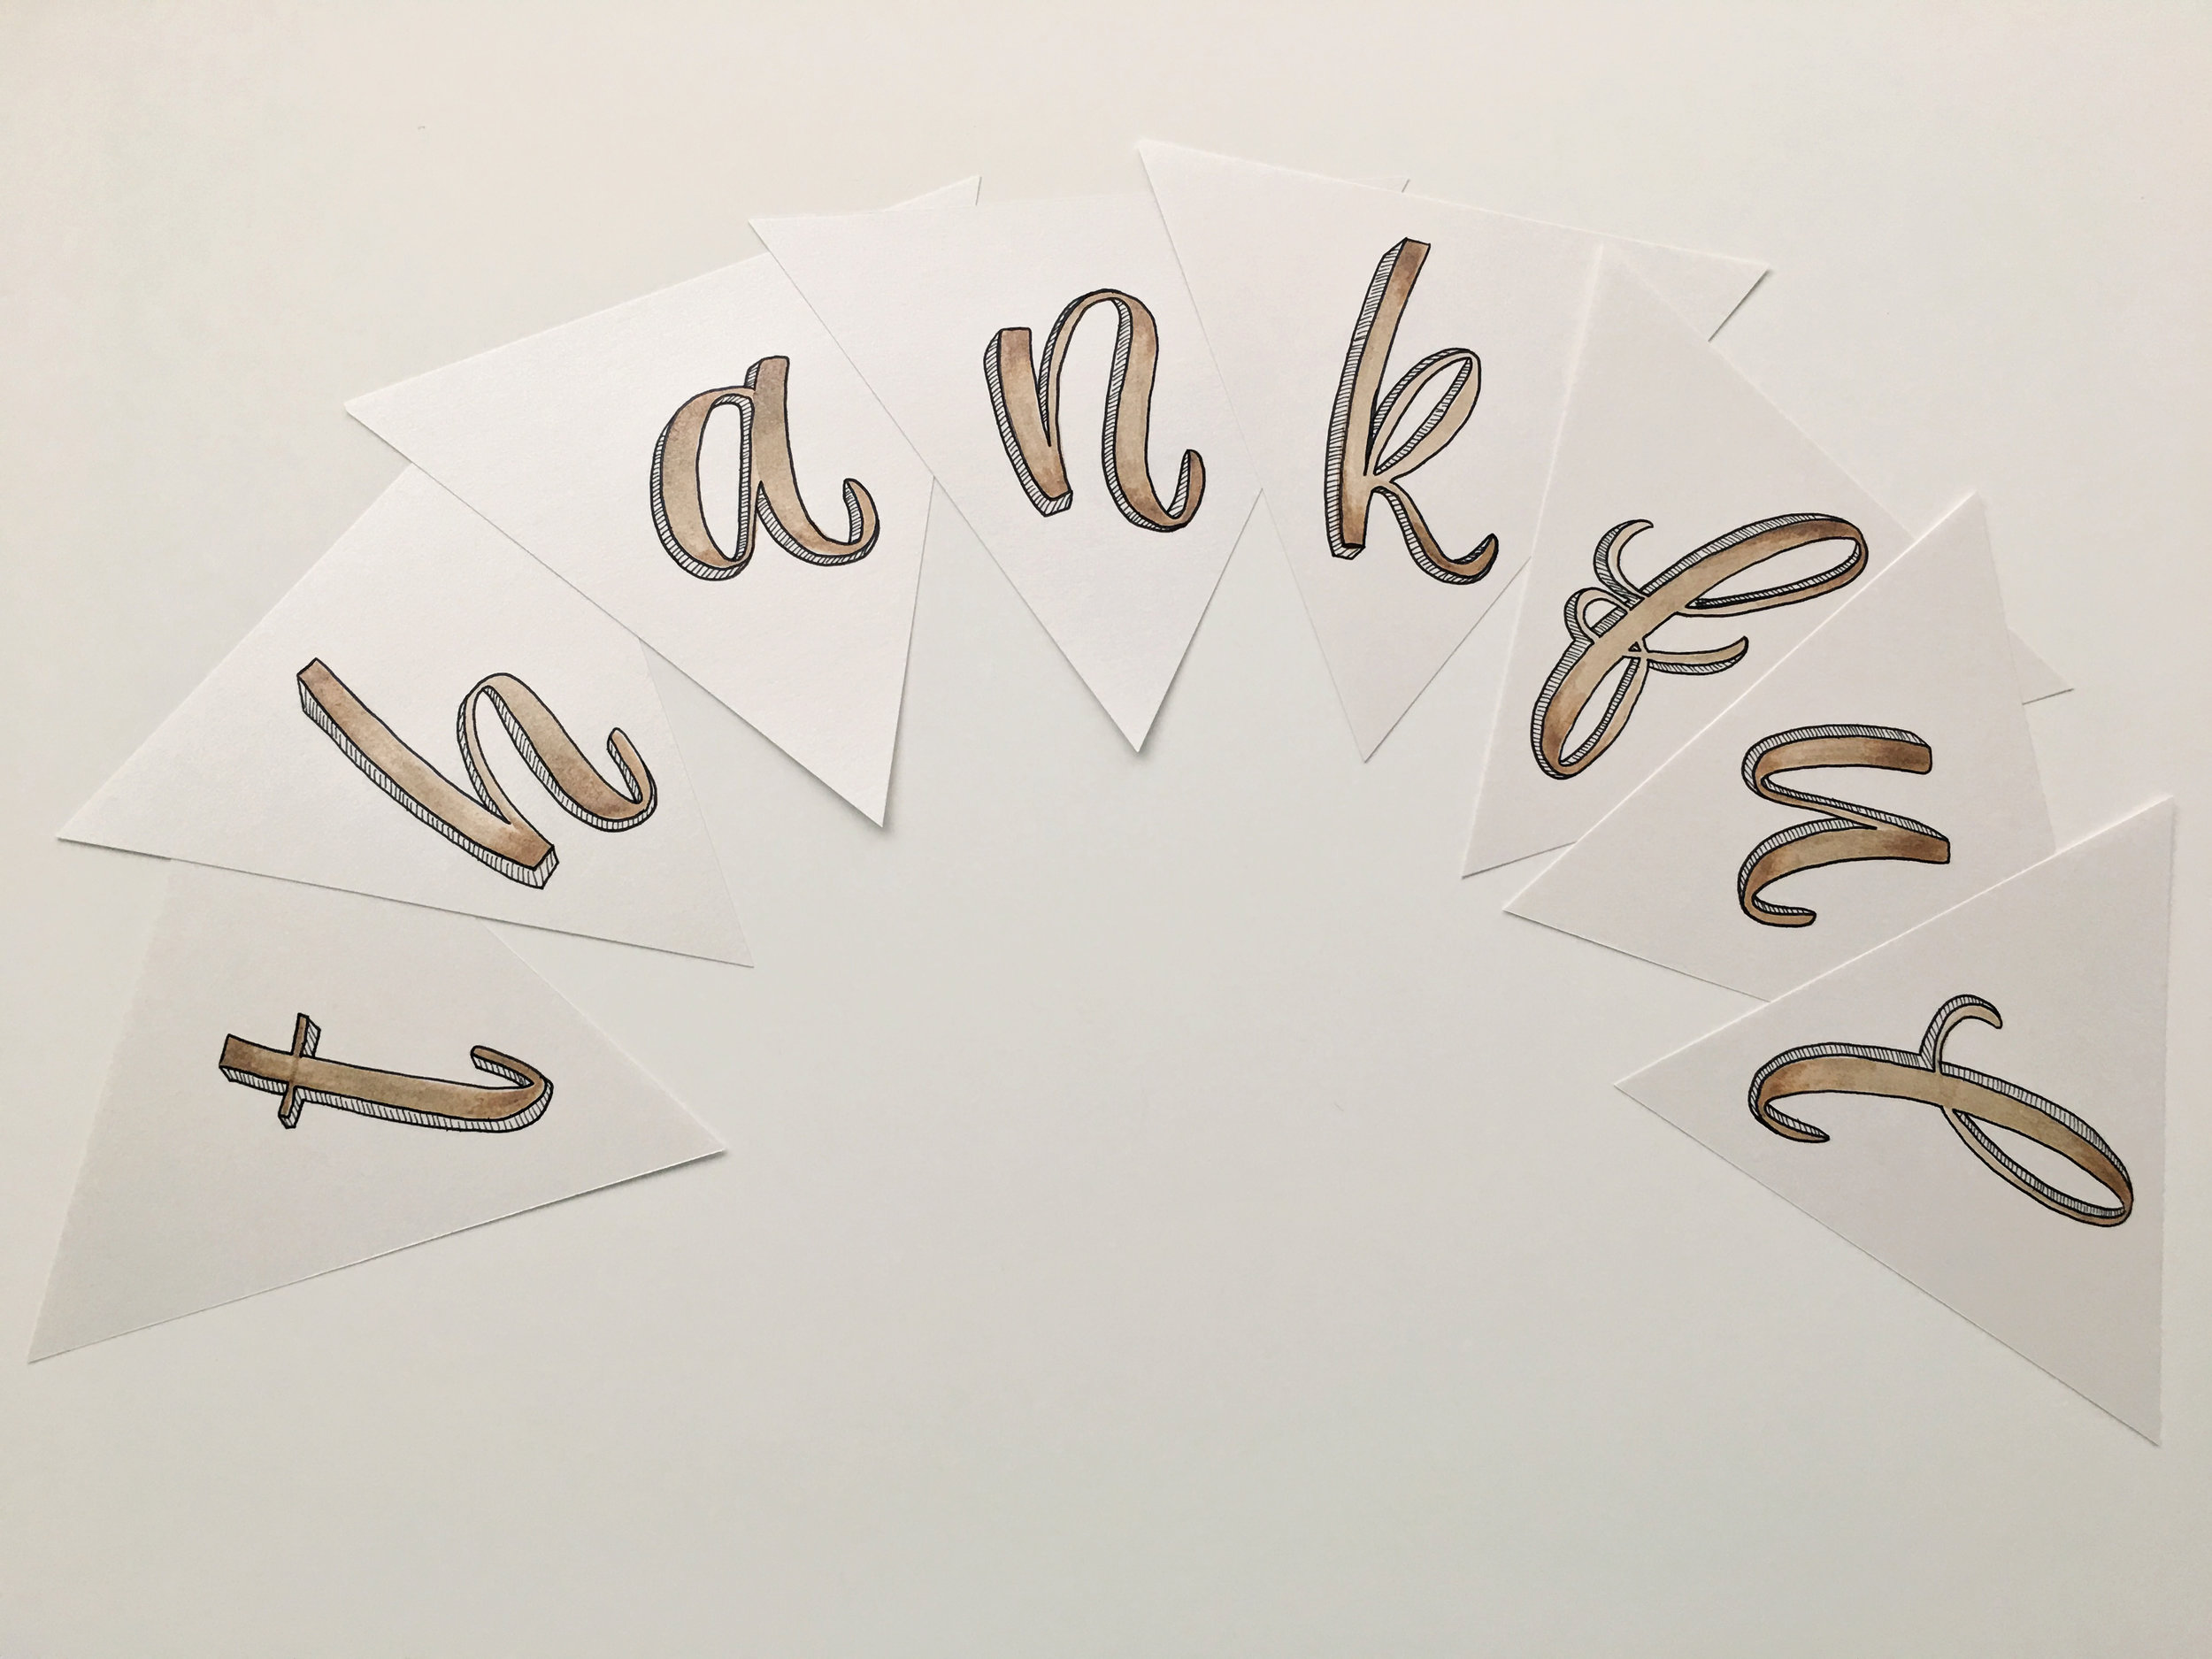
Now, take your white triangles and start writing your letters. You can do whatever style you prefer. I start with the lighter color, then add in the darker marker at the top and bottom of the letter. Then using the Tombow blending marker, I just simply blend the two colors together.
Using the Tombow Permanent marker, I create a border around the letter, and then add a shadow. And using the Mono drawing pen 01, I create some small hash marks inside the shadow box giving it dimension.

Next, using the extreme adhesive, attach the white triangles to the colored triangles, making sure they are centered with the white edge at the top of the triangle. Then, using the liquid glue, run a thin line all the way around the white triangle. Sprinkle on the gold glitter, and shake off the excess, using a small paint brush if needed after it dries. Then using the two safety pins, make a loop on both ends of the twine, & attach with the safety pins! Enjoy!

I believe that a project isn't fun unless you end up covered in glitter some how, so make sure to have fun!! Also, I was lucky enough to get chose to be a finalist for the 2018 Tombow Design Team, and we were asked to create something using their products. With fall in full force, it was a no-brainer for me to create something to go along with all my fall themed decor in the house!! Hope you guys have fun creating! <3