My Go-To Margarita Mix

IMG_7650.JPG
IMG_7646.JPG

Ryan and I are not big drinkers, but we do enjoy an occasional adult beverage to end the evening after the kids go to bed. And a margarita is my drink of choice, as long as it has good tequila.

I have a very sensitive stomach, so all those store bought margarita mixes that contain preservatives, massive amounts of sugar and ingredients I can’t pronounce would make me feel so miserable. So instead of giving up on finding the perfect margarita, I decided to make my own. Tastes and preferences are all different, so the perfect margarita for me, may not be your ideal… but I’m always happy to share what I love!

Fresh Margarita Mix
Print
Fresh Margarita Mix
Author: Jordanne Marie
Prep time: 5 MCook time: Total time: 5 M

Ingredients:

Margarita Mix
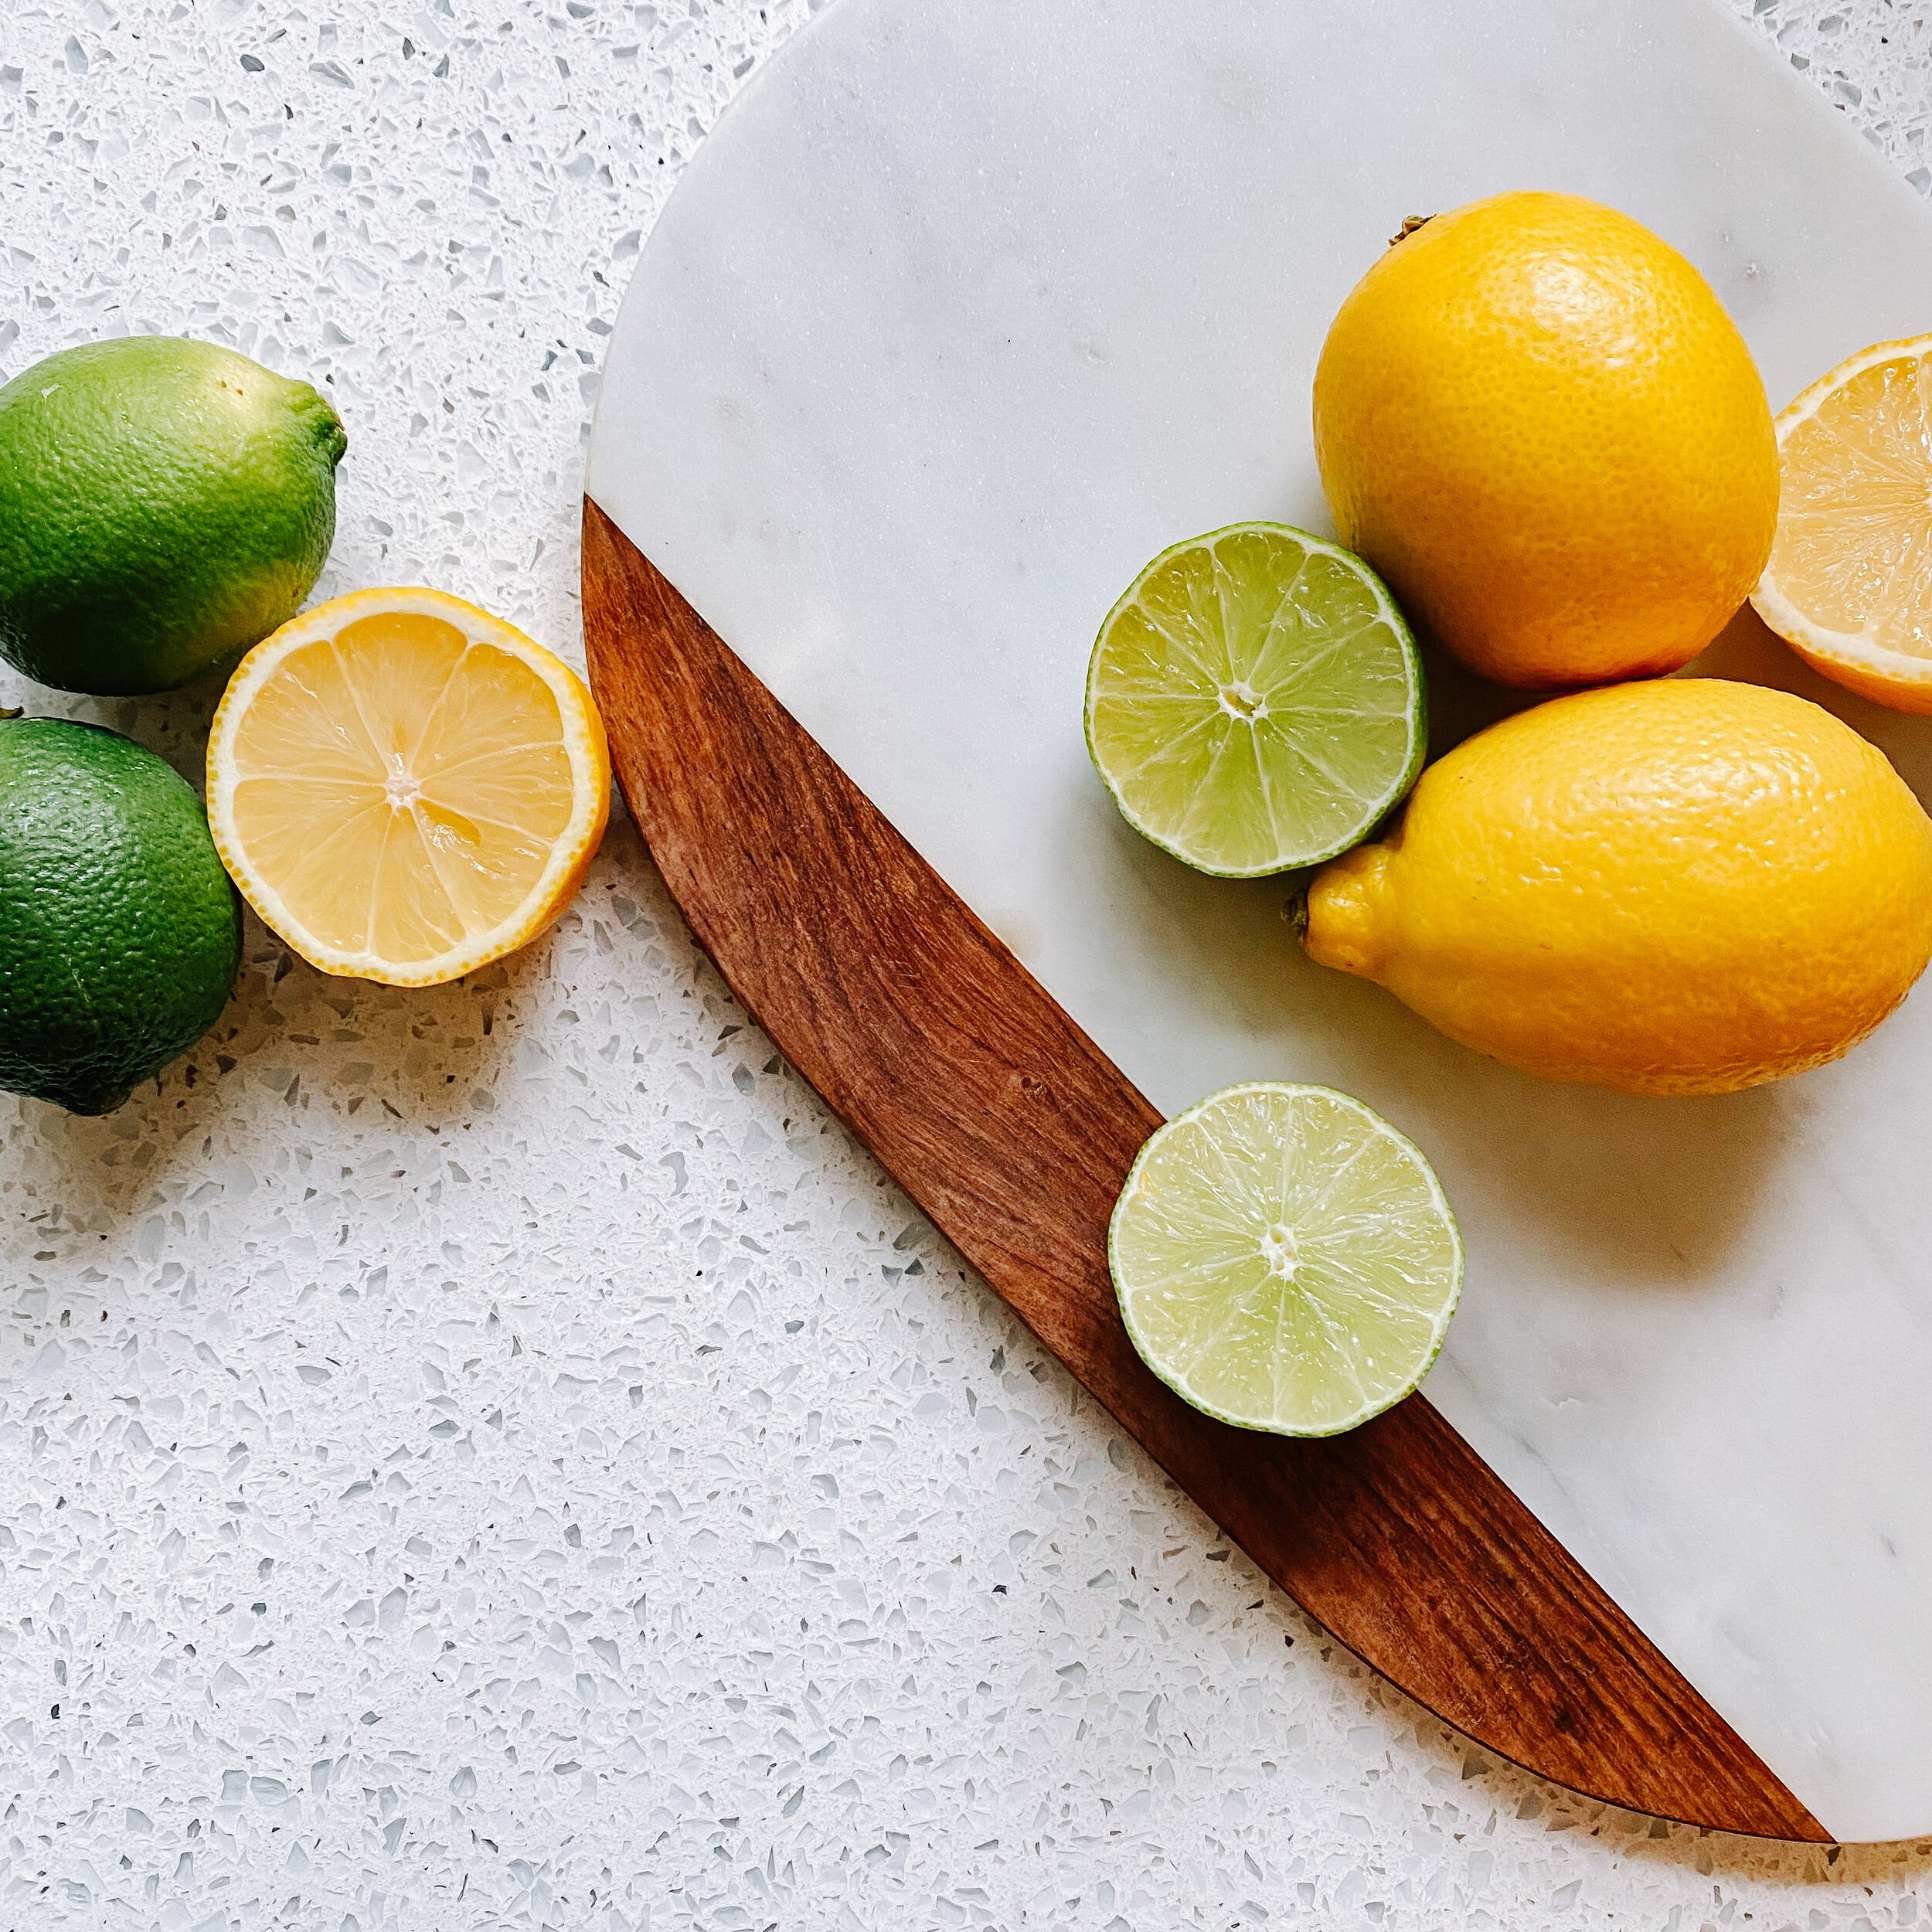
  • 12 Lemons
  • 6-8 Limes
  • Granulated Sugar
  • Purified Water
Margarita
  • Ice
  • Triple Sec
  • Good Tequila
  • Salt (if desired)
  • Club Soda (if desired)

Instructions:

Making The Mix
  1. Roll To soften the Lemons & Limes before your slice.
  2. Cut the fruit in half.
  3. Using a Lemon press, squeeze the juice from all the fruit into a large measuring bowl. 
  4. Measure how much juice you've yielded, and double that with purified water. 
  5. Strain the juice to remove all the extra pulp and seeds.
  6. Depending on how sweet you like your mix, (I prefer mine on that Tart side), add granulated sugar to and wisk it together until the sugar dissolves. 
  7. Pour into a glass jar, cover it & put it in the fridge for later. (can last about a week in the fridge)
Assembling the Margarita
  1. This can be controversial, depending on how you prefer  your margarita. This is just how I like to make them (easy and using as few tools as possible). 
  2. In a glass, (salt the rim if you like... I don't) add ice.
  3. Add about a shot of tequila.
  4. Add a splash of triple sec.
  5. Add the Margarita Mix. 
  6. Maybe add a splash of club soda.
  7. Stir. Sip. Enjoy. 
  8. (You can also make this in a shaker, if you're making multiple servings. I just make one after the kids go to bed, and don't want the extra dishes to clean)
  9. Drink responsibly. 
Fresh Margarita, Margarita
Margarita Mix
Did you make this recipe?
Tag @jordanne__marie on instagram and hashtag it #jordannemarielovessharing
Created using The Recipes Generator

My Peloton Cycling Hack...

Untitled_Artwork.jpg
IMG_0309.jpeg

Okay, so the number one & two questions I get on Instagram is : “How much do you love your Peloton bike?” And when I tell them I don’t own one, the next question is: “Then what bike do you have and do you recommend it?”

Lets go back to 2016, when I learned that I actually enjoyed spin classes by buying a cheap stand for my road bike (which I hated, because it was loud and awkward). I highly recommend learning whether or not you like spin classes before you make this investment, because this type of workout isn’t for everyone.

But I’m going to be real with you all, because you know that’s just how I roll. Listen up. If you have the money to invest in a legit Peloton bike & you already know you love spin classes, I will tell you, WITHOUT A DOUBT, invest in that bike. I’m just biding my time until I can afford to buy one of my very own, but this little hack in the meantime has helped me!

Flash forward to 2018, Ryan asked me what I wanted for my birthday, and after just coming off of a full year of breastfeeding Verona, I was ready to tone up, but didn’t want to go back to my makeshift bike stand. To his surprise, I said “Please get me a spin bike. Or a Peloton” In true Ryan fashion, he proceeded to get on Consumer Report, and read everything he could to figure out the most bang for our buck. We only had a couple hundred dollars to spend at the time, and so he bought me a Sunny Health Stationary bike. (They don’t make it anymore, But I have linked one similar).

My View. Notice the top left corner telling me my heart rate and cadence.

My View. Notice the top left corner telling me my heart rate and cadence.

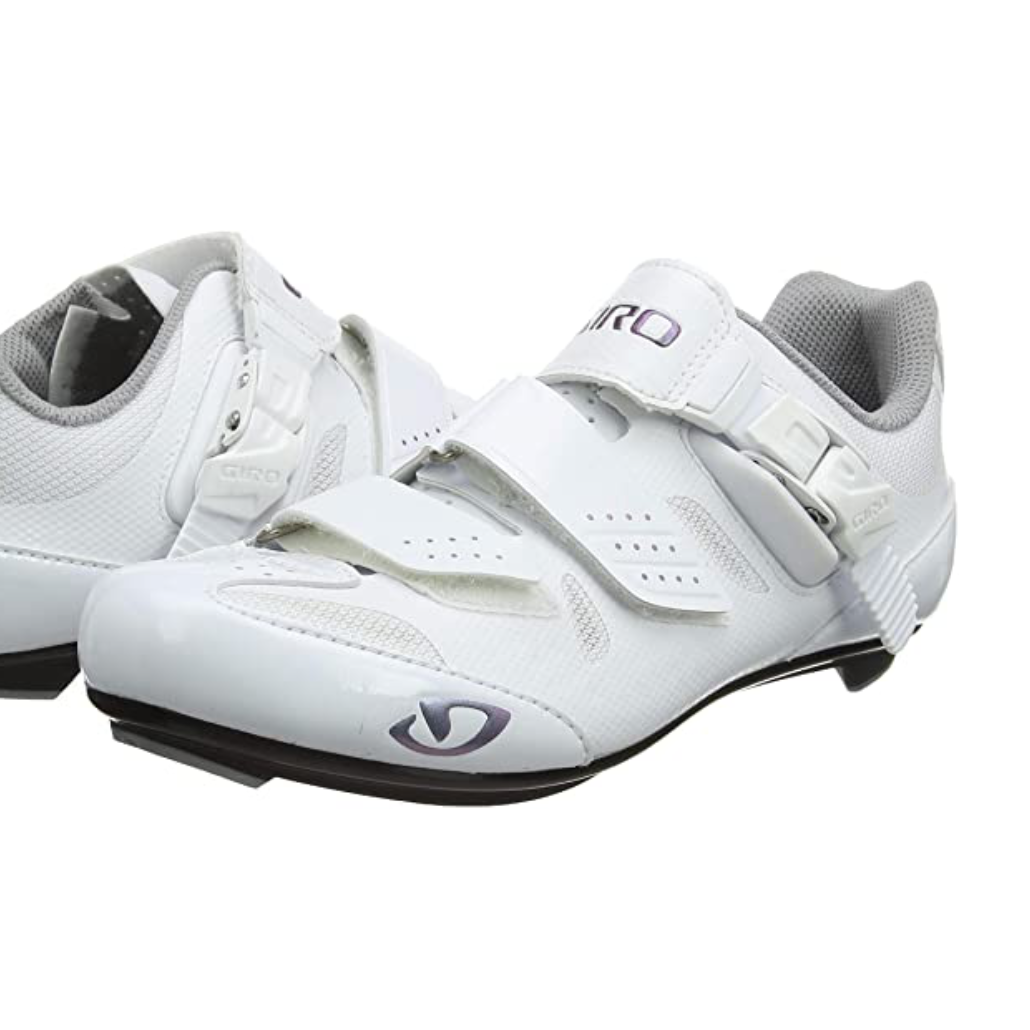
The key to success was the add ons: switching out the caged pedals with legit cycling pedals, getting riding shoes, a cadence sensor and heart rate monitor & downloading and paying for the Peloton app. {Which is free for 30 days right now, with a new signup btw}

When using the Peloton App on my iPad, I can connect my heart rate monitor and cadence sensor through bluetooth and it makes it so much easier to follow along with the workouts! I set my iPad on the handle bars, clip in and get to work.

Unfortunately, you won’t know your resistance or output, but a lot of times the instructors will describe how the “road” should be feeling. (ie. Flat road, cycling through mud, steep hill, etc)

I can’t say enough good things about the Peloton app. Not only do I adore the cycling classes, but they also have Treadmill workouts, Vinyasa Style Yoga, Strength classes, bootcamps, Cardio, Outdoor Running Audio, Meditation, stretching and more. I can easily find something to do each day, depending on what level of exertion I want to do.

I love cycling. Especially when the workouts are tough, and the music is loud and amazing. I’m one of those people who is easily motivated by music, but it has been KEY right now for me to tune out the world and do the hard work.

Go to this link : << My Workout Love List on Amazon >>if you want to find my favorite sports bras, preworkout, protein powder, yoga favorites and more. I’m going to do a post later about my health journey, because I think that’s very important as well.

All the images below have links to each item if your interested! And if you have any more questions, please leave me some comments and I’ll try to answer as I go!!

Teach-It Tuesday: Gel Nails

One of the number one questions I get asked about is how my nails are always so cute and nicely painted, while having three kids. And the number one reason I never share is because I feel like I am not an expert on this subject. I am not a trained nail technician, and the way I apply my gel polish may not be entirely correct so I don’t want to hear criticism if it’s incorrect.

The truth is: I own a gel nail light. My mom is a hair dresser and I have access to stores that only certified cosmetologists are allowed into. (which is where a good portion of my colors are from). As a mom of three, there isn’t much time to go to the nail salon, so I make sure I can do my own at home!

IMG_2363.jpg

SUPPLIES:

  • Cuticle Remover

  • Cuticle Pusher & Nipper

  • Nail File & File Block

  • Nail Clippers

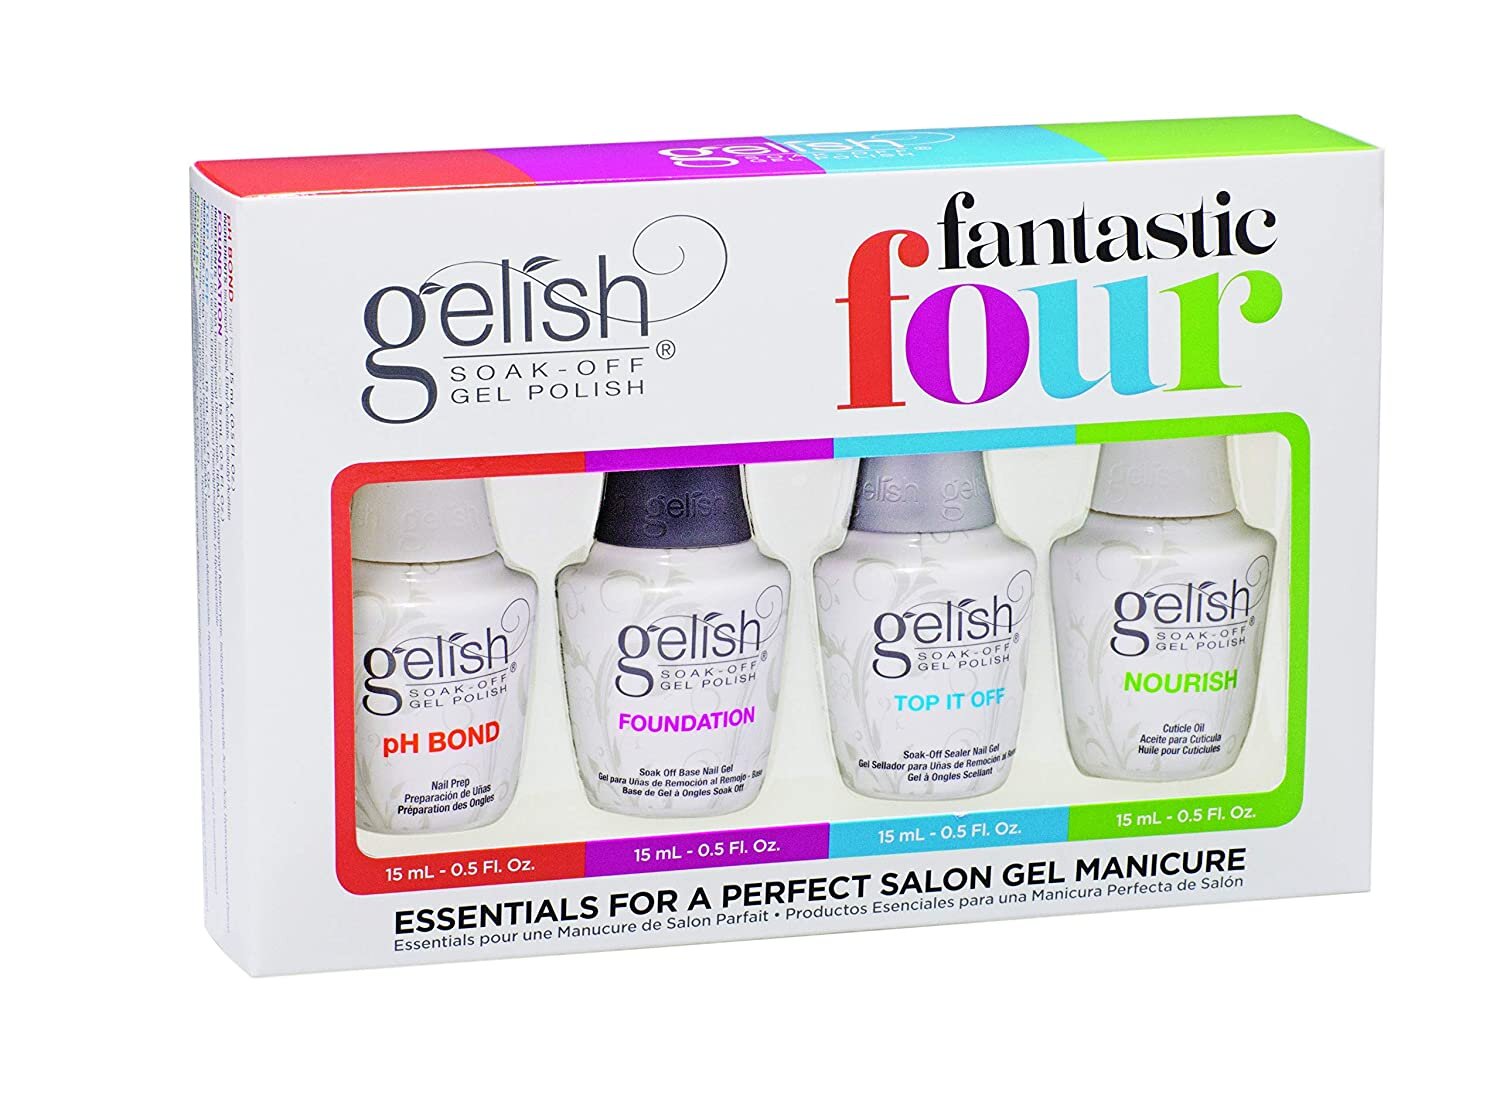
  • Gelish pH Bond, Foundation, Top Coat & Nourish gel

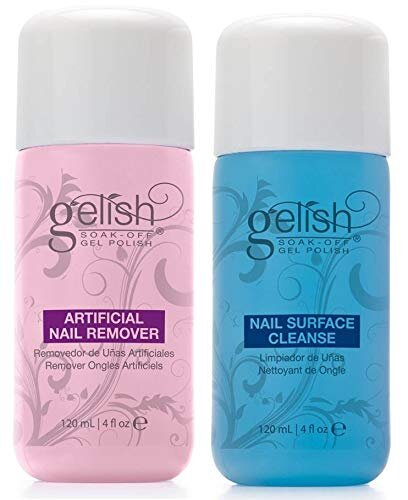
  • Rubbing Alcohol & absorbent Stripes (I actually get waxing sheets and cut them into small strips)

The Process:

  1. Begin by using the cuticle remover, and apply it to the base of your nails. Using the cuticle pusher, gently push back the cuticles. Use the cuticle nipper very carefully and clear away the excess dead cuticle. The idea is not to remove the healthy cuticle, mainly because it will hurt and make you bleed.

  2. Use a nail file and block to create the desired nail shape. [Fun Fact: when filing the tip of your nail, it is not a good idea to saw back and forth at the nail. Only go in one direction.]

  3. Using the same file and block, rough up the surface of the nail. This will help to ensure your manicure lasts longer and has a good surface to adhere to {but don’t go too hard or deep}.

  4. Apply a layer of the pH bond. Let cure in the gel light for 5-10 sec.

  5. Apply a very fine layer of the Gelish Foundation, making sure to have it completely cover the nail and also the tip top of the nail. Then let cure in the gel light for 30 sec. It’s important to note that if you make a mistake and get color or the base or top coat on your skin, a q-tip dipped in rubbing alcohol can clean it up quick.

  6. Now comes the color. Depending on desired pigment apply 1-3 light coats of your color and let cure for 30 secs for each coat.

  7. Finally apply the top coat. Let cure for 30 sec under the gel Light.

  8. Once it is all set, using the stripe and some rubbing alcohol, remove the access and polish each nail. They should be all set and you can touch them immediately.

It’s important to note that if you make a mistake and get color or the base or top coat on your skin, a q-tip dipped in rubbing alcohol can clean it up quick.

So, as I said, I’m not an expert on this. This is merely what I do, and I’m sure there are things I do wrong. I have pretty oily nail beds, so my manicures only last about a week-week & a half before they start to peel up.

I have set up links to all my favorite products on Amazon! Just click on the photos below! And also linked a quick hyperlapse of me painting my nails. :) Hope this helps and please let me know if you have any questions!