Teach-It Tuesday: Gel Nails

One of the number one questions I get asked about is how my nails are always so cute and nicely painted, while having three kids. And the number one reason I never share is because I feel like I am not an expert on this subject. I am not a trained nail technician, and the way I apply my gel polish may not be entirely correct so I don’t want to hear criticism if it’s incorrect.

The truth is: I own a gel nail light. My mom is a hair dresser and I have access to stores that only certified cosmetologists are allowed into. (which is where a good portion of my colors are from). As a mom of three, there isn’t much time to go to the nail salon, so I make sure I can do my own at home!

IMG_2363.jpg

SUPPLIES:

  • Cuticle Remover

  • Cuticle Pusher & Nipper

  • Nail File & File Block

  • Nail Clippers

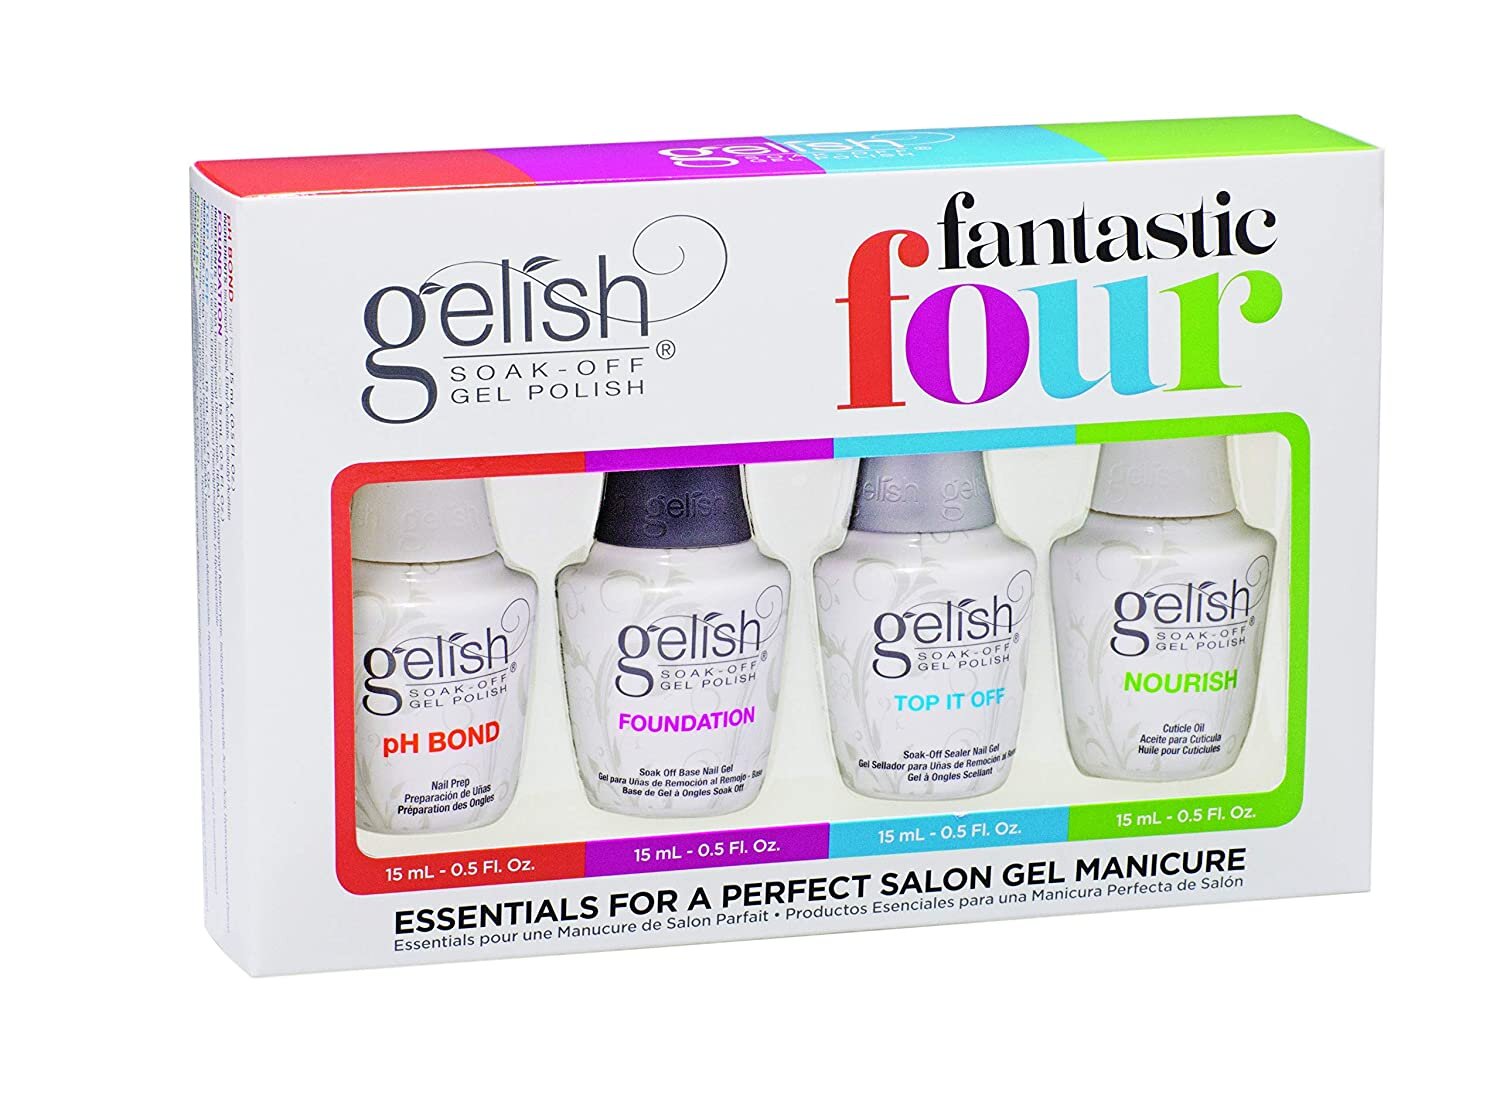
  • Gelish pH Bond, Foundation, Top Coat & Nourish gel

  • Rubbing Alcohol & absorbent Stripes (I actually get waxing sheets and cut them into small strips)

The Process:

  1. Begin by using the cuticle remover, and apply it to the base of your nails. Using the cuticle pusher, gently push back the cuticles. Use the cuticle nipper very carefully and clear away the excess dead cuticle. The idea is not to remove the healthy cuticle, mainly because it will hurt and make you bleed.

  2. Use a nail file and block to create the desired nail shape. [Fun Fact: when filing the tip of your nail, it is not a good idea to saw back and forth at the nail. Only go in one direction.]

  3. Using the same file and block, rough up the surface of the nail. This will help to ensure your manicure lasts longer and has a good surface to adhere to {but don’t go too hard or deep}.

  4. Apply a layer of the pH bond. Let cure in the gel light for 5-10 sec.

  5. Apply a very fine layer of the Gelish Foundation, making sure to have it completely cover the nail and also the tip top of the nail. Then let cure in the gel light for 30 sec. It’s important to note that if you make a mistake and get color or the base or top coat on your skin, a q-tip dipped in rubbing alcohol can clean it up quick.

  6. Now comes the color. Depending on desired pigment apply 1-3 light coats of your color and let cure for 30 secs for each coat.

  7. Finally apply the top coat. Let cure for 30 sec under the gel Light.

  8. Once it is all set, using the stripe and some rubbing alcohol, remove the access and polish each nail. They should be all set and you can touch them immediately.

It’s important to note that if you make a mistake and get color or the base or top coat on your skin, a q-tip dipped in rubbing alcohol can clean it up quick.

So, as I said, I’m not an expert on this. This is merely what I do, and I’m sure there are things I do wrong. I have pretty oily nail beds, so my manicures only last about a week-week & a half before they start to peel up.

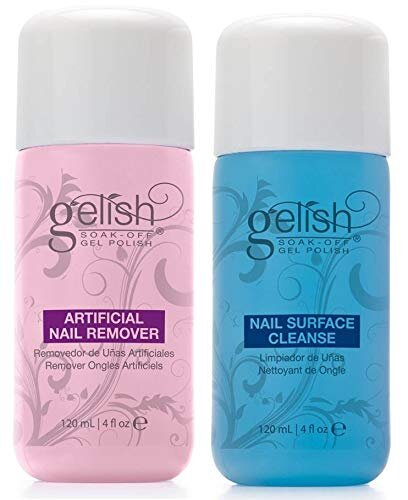
I have set up links to all my favorite products on Amazon! Just click on the photos below! And also linked a quick hyperlapse of me painting my nails. :) Hope this helps and please let me know if you have any questions!

Free Valentine’s Printable

IMG_1792.jpeg

I was so excited when so many responded to my poll last night about wanting this available as a printable!! I hope you all will share it with me if you do use it, because I always love seeing when you’re loving what I’m doing!

I set this file up as an 8.5x11 sheet of paper and then just print it off on card stock!

IMG_0865.jpeg

MATERIALS:
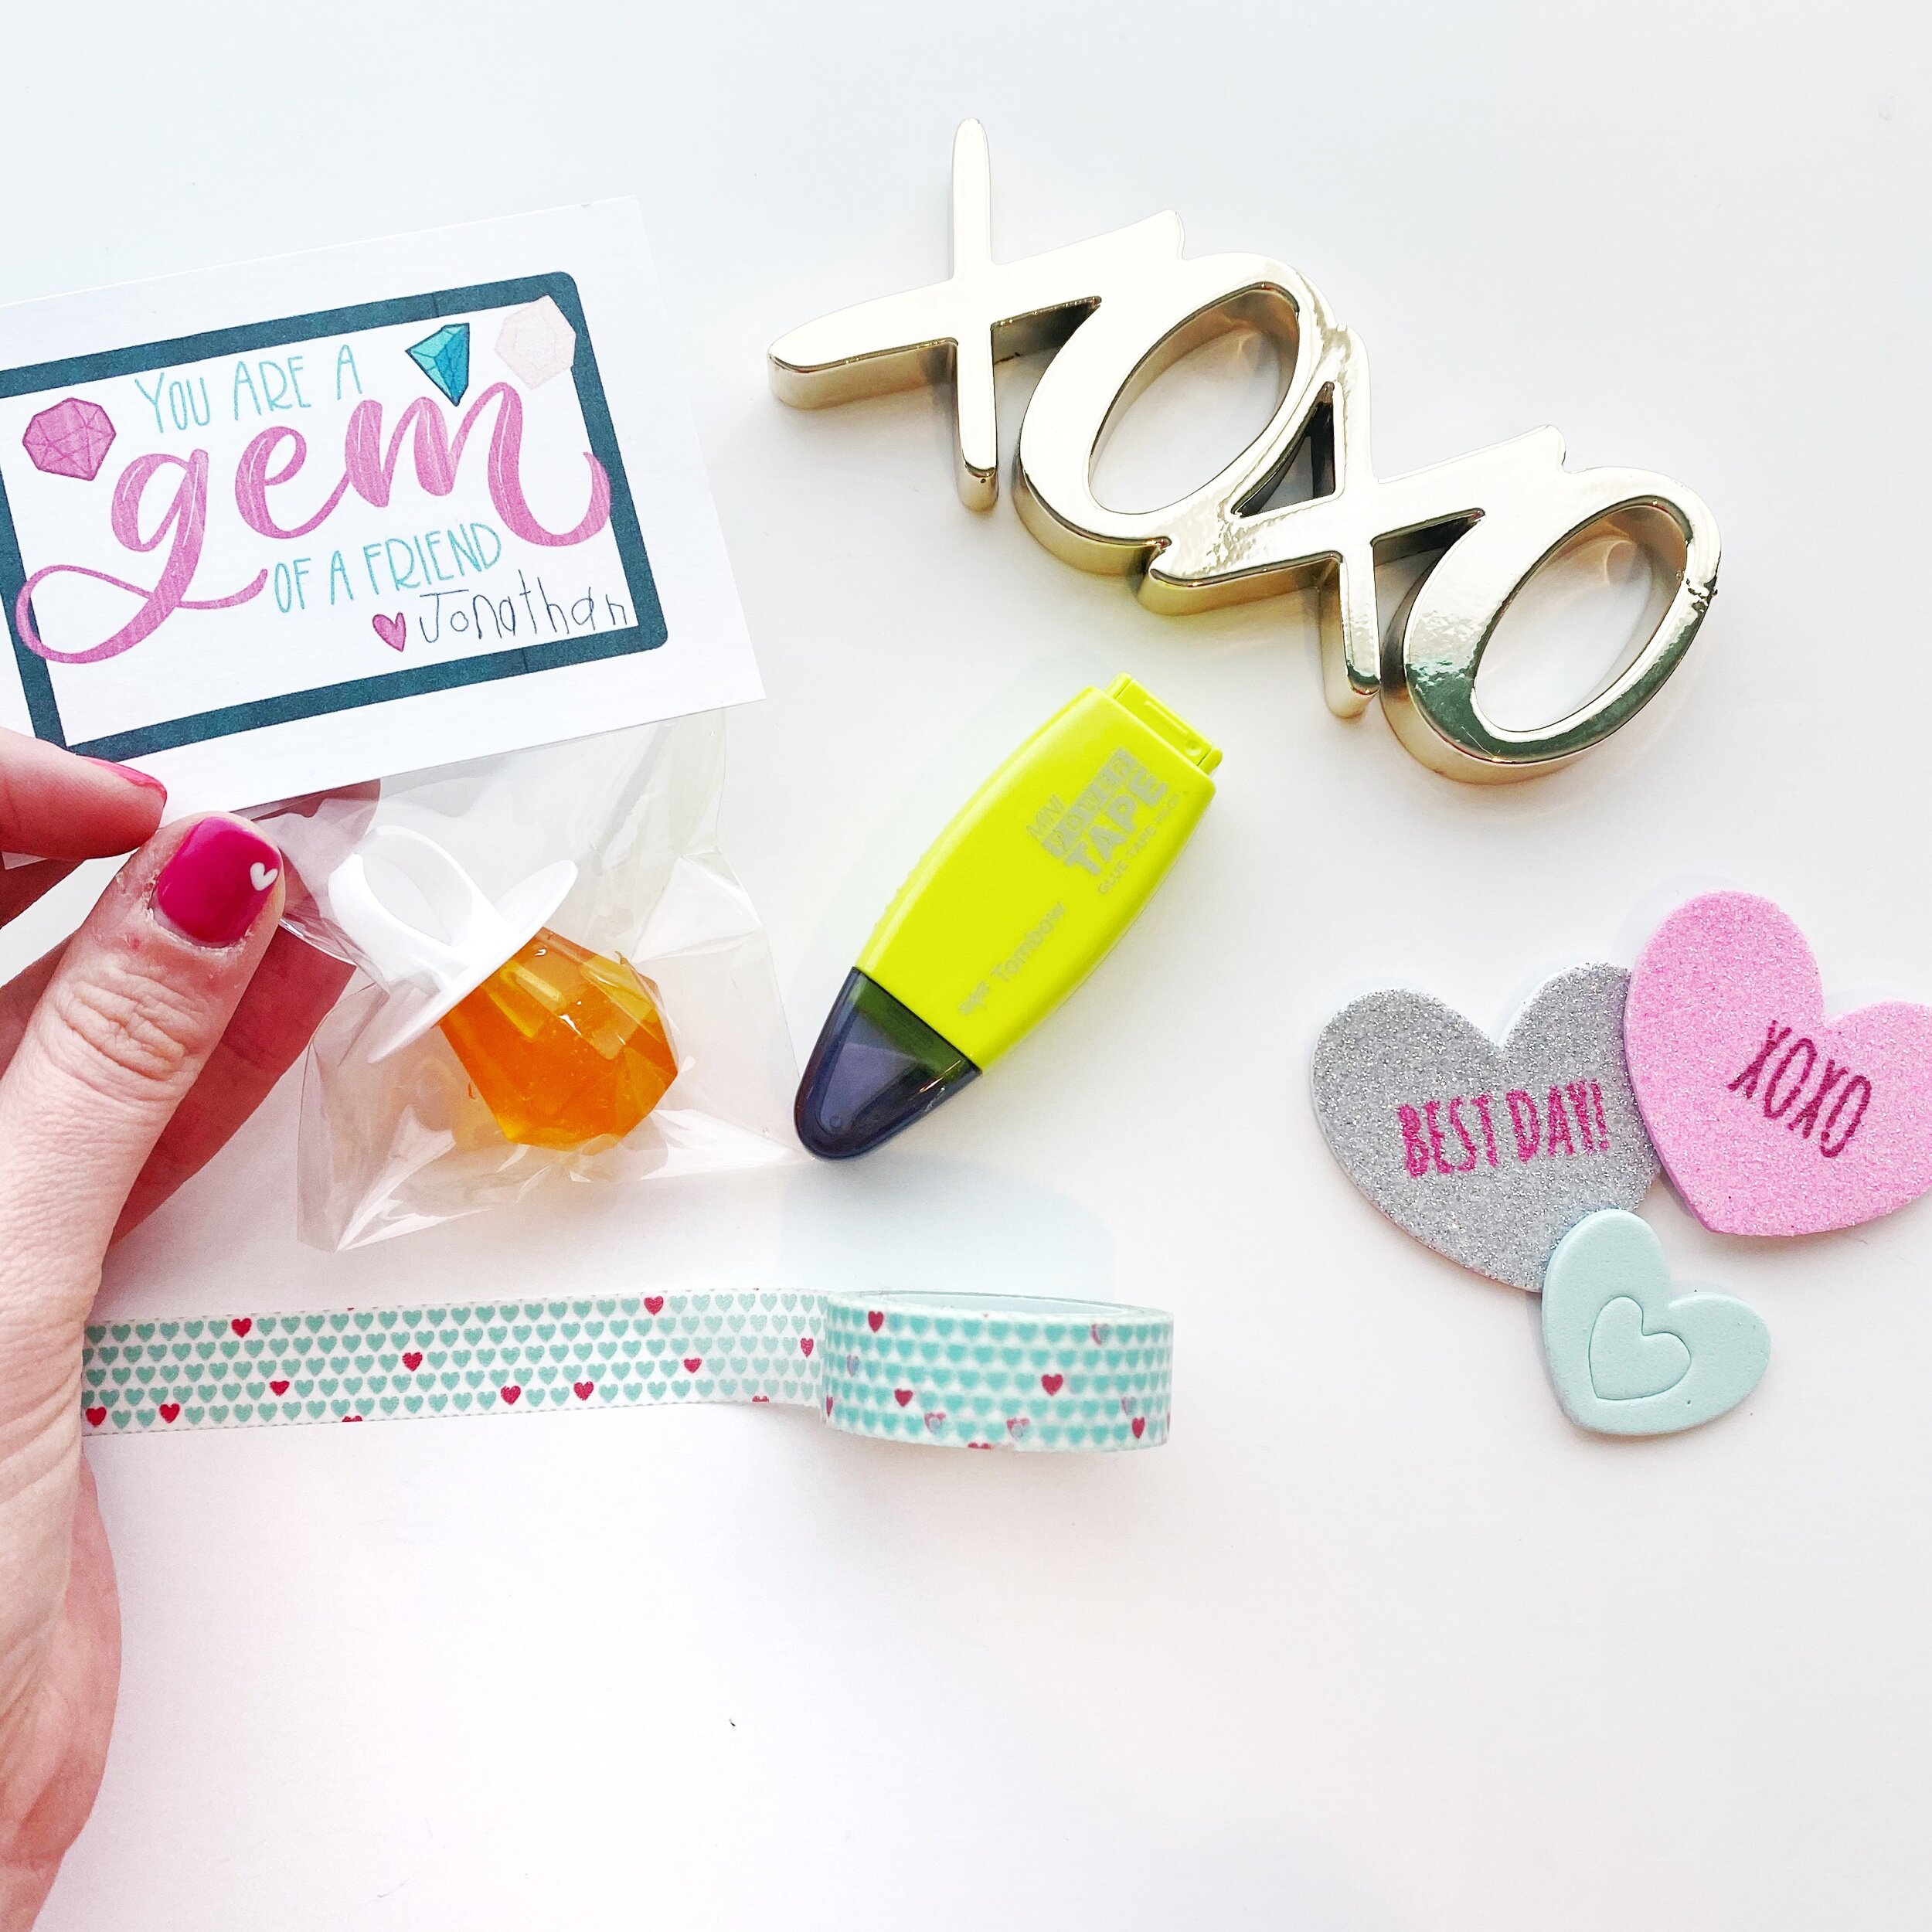
-Ring Pops
-CardStock
-Clear plastic treat bags
-Adhesive (i like the tombow tape)
-Scissors or Paper cutter

Just save the file and print! And as always please tag me on social media so I can see, because I love knowing that you guys love the things I create!! <3 Happy Valentine’s Day!! (Or in my family, Happy Fallontime’s Day!) Hope it’s a day full of love!

IMG_0866.jpeg

Teach-It Tuesday: Wood Slice Fall/Winter Decor Tutorial

I’m pretty excited that I finally am able to get this post done, just in time to line up with my “Teach-it Tuesday” blog series. One of the most asked questions in my DM’s is for tutorials, (handlettering, makeup, hair, eyebrow) and if I’ve learned anything these past few years, if you really want to grow your platform give the people what they’re asking for.

So friends, today I want to help you guys make something fun for your home that will transition from fall into winter!

IMG_4766.JPG

Supplies: (all available at Michaels)
Wood Block
Sharpies (Metallic Silver, Gold & Black)
Black (or white) Acrylic Paint
Paint Brush
Pencil

1. Paint wood block
2. With the pencil, lightly layout the design for your block.
3. Ink in the design with Sharpies
4. Erase pencil lines
5. Style in your home

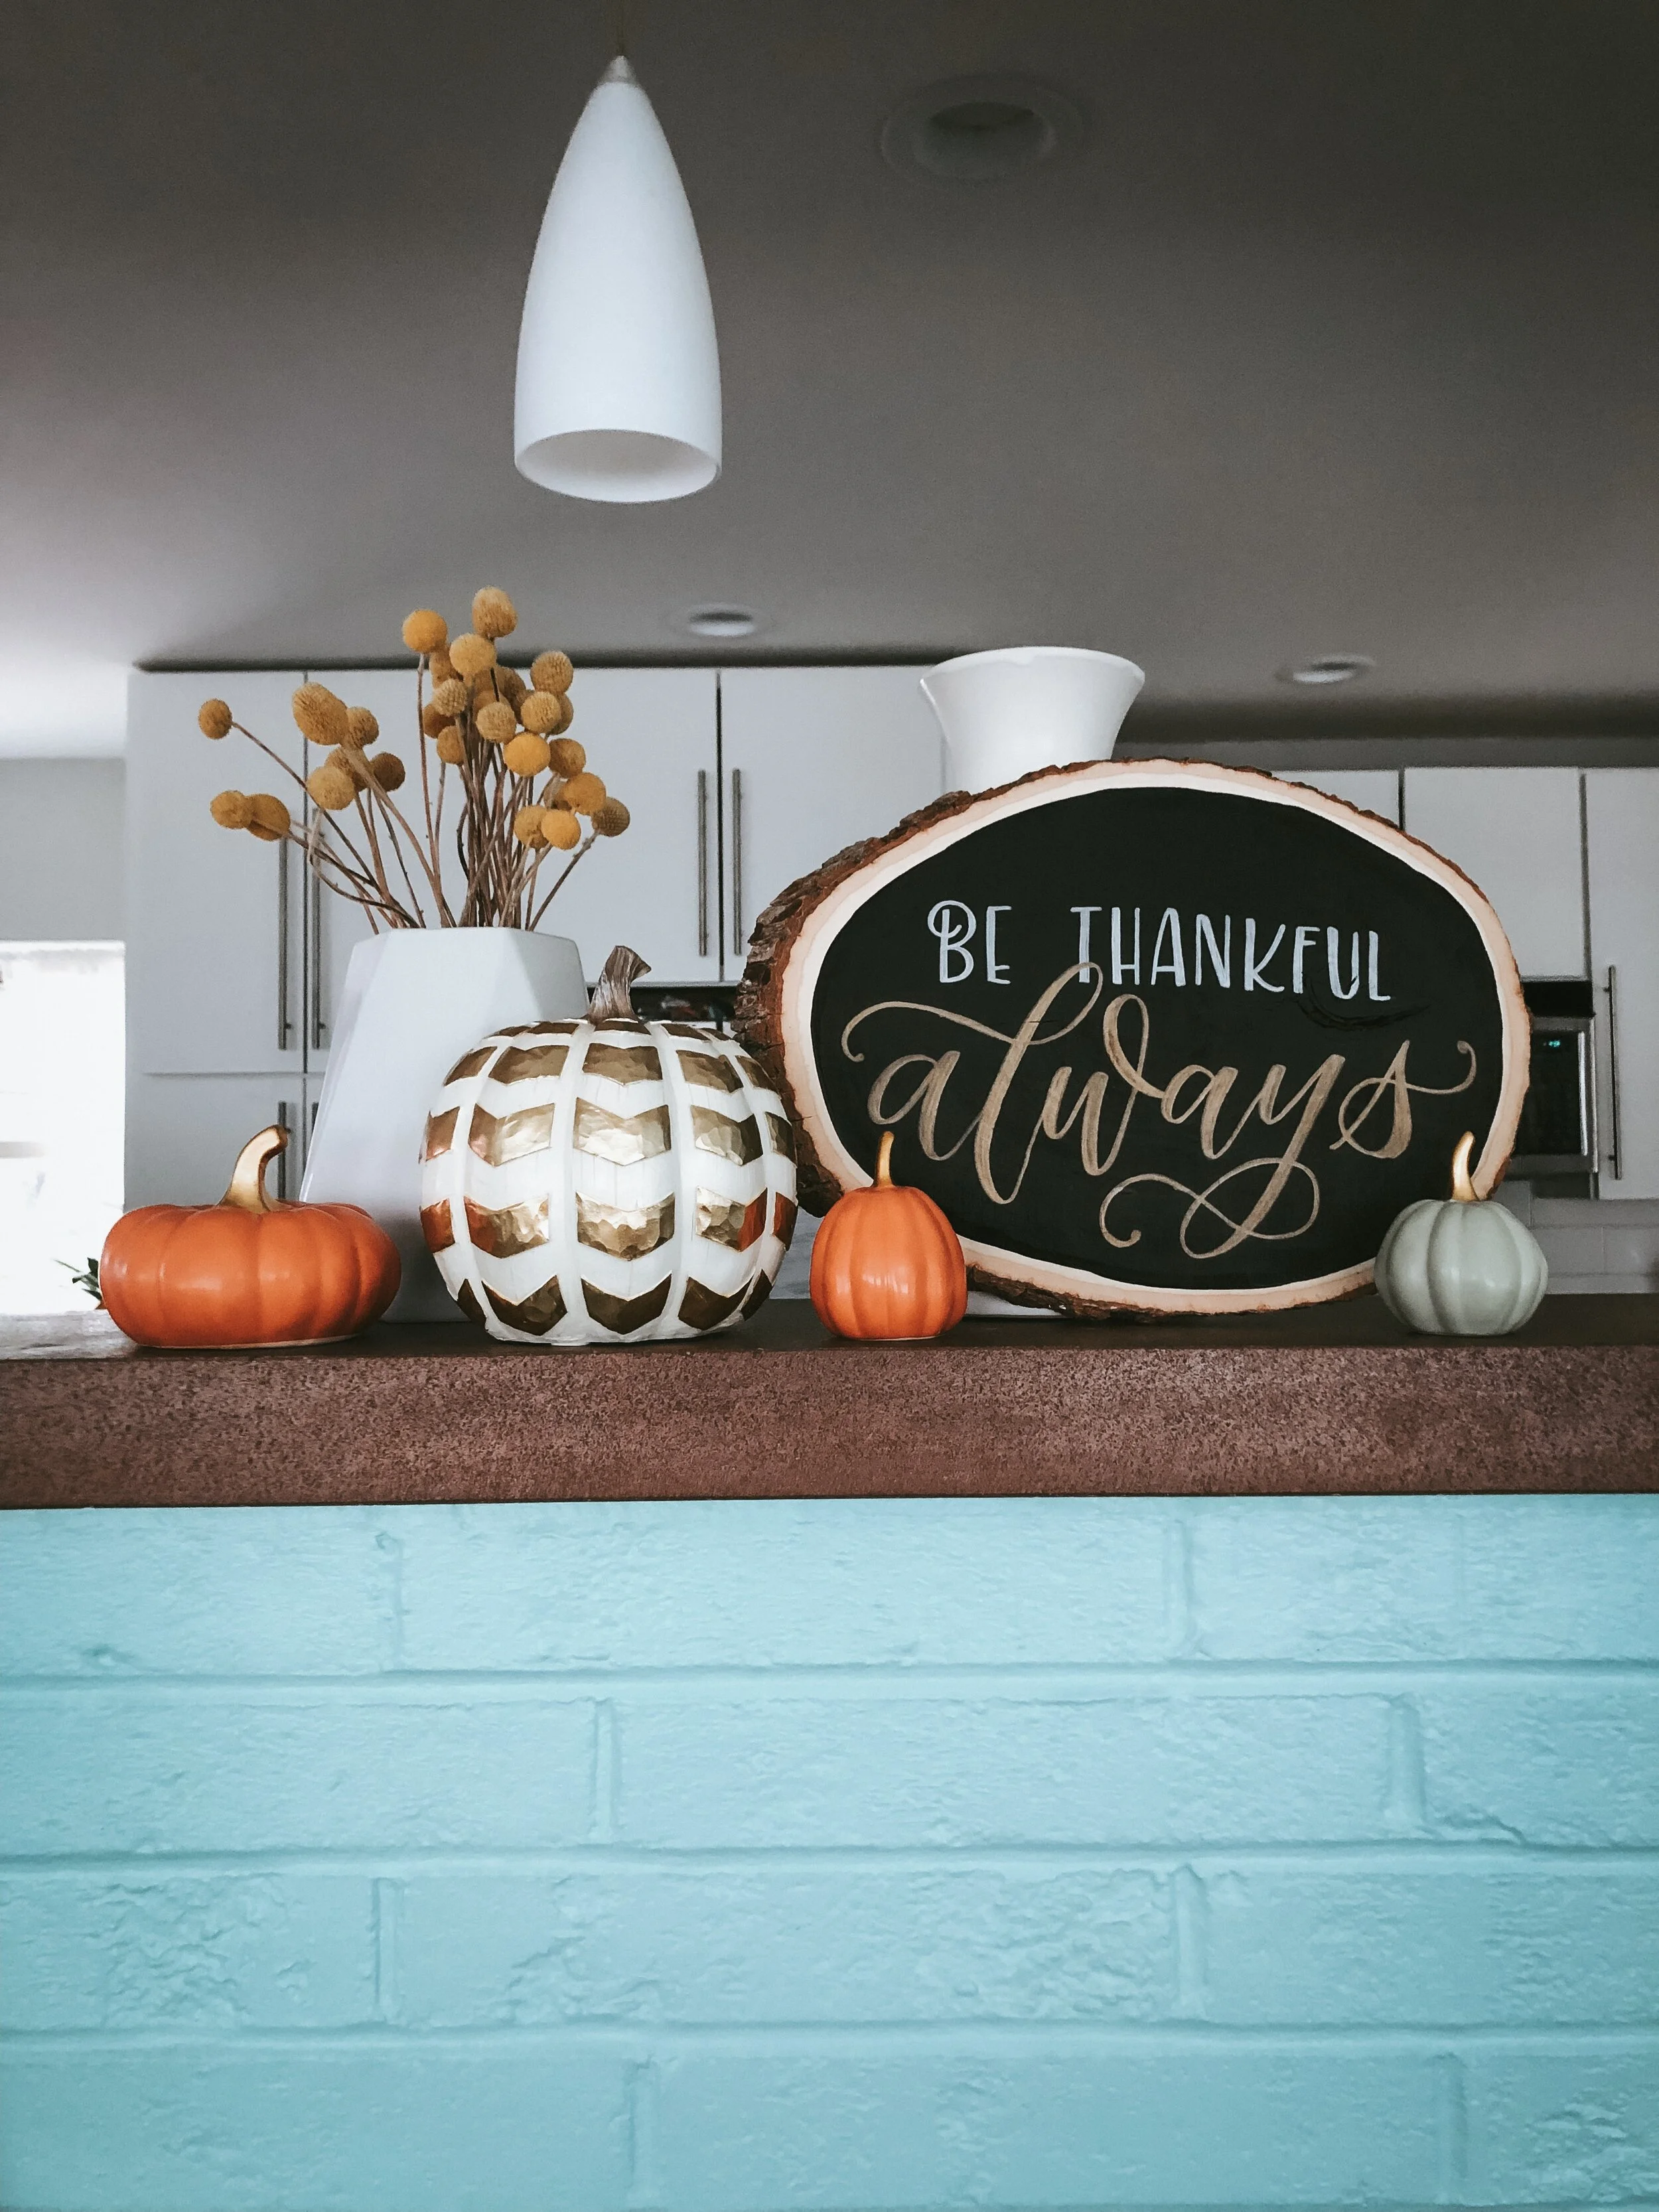
I’ve shared some of my designs that I have in my home, so you can create your own! More Christmas & Holiday designs will be coming soon!

IMG_4458 copy.JPG
IMG_5236.JPG

All designs are the intellectual property of Jordanne Marie, and is illegal to recreate and sell. Please be kind and don’t steal.

The Comparison Monster

IMG_4181.jpeg

Well friends, I have been Bitten. Hard. By the mean and nasty comparison monster. I didn’t think I was feeling that insecure about our life, home, style, etc, but as I sit here and type this, with the sound of ocean waves crashing, sipping my cold coffee and my two little girls napping peacefully, I realize just how harshly I’m judging myself. I should be putting my clean clothes away, cleaning a bathroom that hasn’t been cleaned in over 2 months, filling out the paperwork I need for Jonathan’s doctor appointment this afternoon, or one of the other million things I told myself I should do in order to make my day seem accomplished.

Instead, I caught myself in an instagram scroll about 20 minutes ago, as I often find myself; scrolling and dreaming of the day when I will feel put together enough to share more of our story. Maybe when I have more time on my hands to sit down and write, or when we have more money and aren’t feeling completely overwhelmed by the debt that makes us live paycheck to paycheck. I’m waiting for the day that my photos look like “HERS” and when my walls are painted white, with farmhouse decor (even though that is NOT MY STYLE). I'm waiting for the day when our house is “in order” or “settled”, or when I feel like our life is interesting enough to share. I tell myself that even if I decided to START this little blog that I’ve been dreaming about starting for years now, no one is going to care. No one is going to read it because we aren’t as popular or as well known as other bloggers with bigger followings. So, Who is going to care?

So… instead of writing, I scroll. And the more I scroll, the more bitter I become, because I want to be doing this… I want to hustle. I want to write & share our life. I want to have a reason to work in my office again. I want to listen to uplifting podcasts about going out and chasing your dreams and not feel completely guilty that I’ve been given this amazing opportunity to be a stay at home mom. I want to be encouraging and to find connection with other women who find themselves in the trenches as I am. I want my husband to see that this outlet for my creativity isn’t just something to take me away from my most important work of taking care of our children. Ultimately, I want to be able to contribute financially and still stay home with my children! (And please don’t try to get me to join your MLM, because I’ve tried & learned I’m not good at that stuff.)

IMG_4184.jpeg

I have listened to Mary Marantz’s podcast on Comparison at least five times now, and I could list out a million things from that episode that hit home because it’s all Gold. (if you haven’t listened, go do it now!) But the five biggest take aways for me are this (most of this is taken right from the podcast):

  1. Comparison is the thief of TIME. How many perfectly wonderful days have we lost because we felt small by comparison to what others are doing, wearing, experiencing?

  2. We need to stop sentencing ourselves to a life where we don’t have permission to show up and celebrate our wins anymore (regardless of how small they may be).

  3. Stop telling ourselves that “it’s not okay to be a WORK IN PROGRESS”.

  4. We aren’t all running the same race. So throw the confetti & clap for your own dang self.

  5. The ideal finish line of success is not a fixed marker. And you could spend your whole life putting off being happy, proud of & excited for the things we’re accomplishing simply because there is someone else further ahead, running a completely different race.

I miss spending time with these beautiful ladies.

I miss spending time with these beautiful ladies.

:MIND BLOWN: Now can you see why I’ve listened to this episode so many times? Not to mention, listening to Mary Marantz talk about anything, makes me want to stop in my tracks and listen. She’s the real-deal friends, and if you’re not already subscribed to her podcast, you need to. Click HERE.

So I’m going to do it. I’m going to show up for my own life, throw the confetti and clap for my own dang self, because I need this. No more excuses for why I can’t start, because the journey is still the story. And if no one reads this, and it’s merely an outlet for me to feel a little less alone then so be it, I’ll know that I tried and gave my best effort. Because I don’t want to wake up one day, with my kids in high school and realize that I missed my chance to document their lives when they were young. I don’t want to look back and say “man it was hard, but its all a blur.” Because I never celebrated the small wins or the little victories.