Funfetti Unicorn Cookies

IMG_1470.jpg

In lieu of having a party with all our families, this year I asked Verona how she wanted to celebrate, her response warmed my heart. “I want a unicorn cake at our house, and bring cookies to my family and friends.” So thats what we did, baked and delivered some to her grandparents, aunts, uncles & cousins… and now I’m sharing the recipe so you all can make them as well!

Yield: 30-36 cookies
Author:
Print
Funfetti Unicorn Cookies

Funfetti Unicorn Cookies

Prep time: 5 MCook time: 9 MTotal time: 14 M

Ingredients:

  • 1/2 cup Butter softened
  • 1/2 cup granulated sugar
  • 2 eggs
  • 1 tsp vanilla
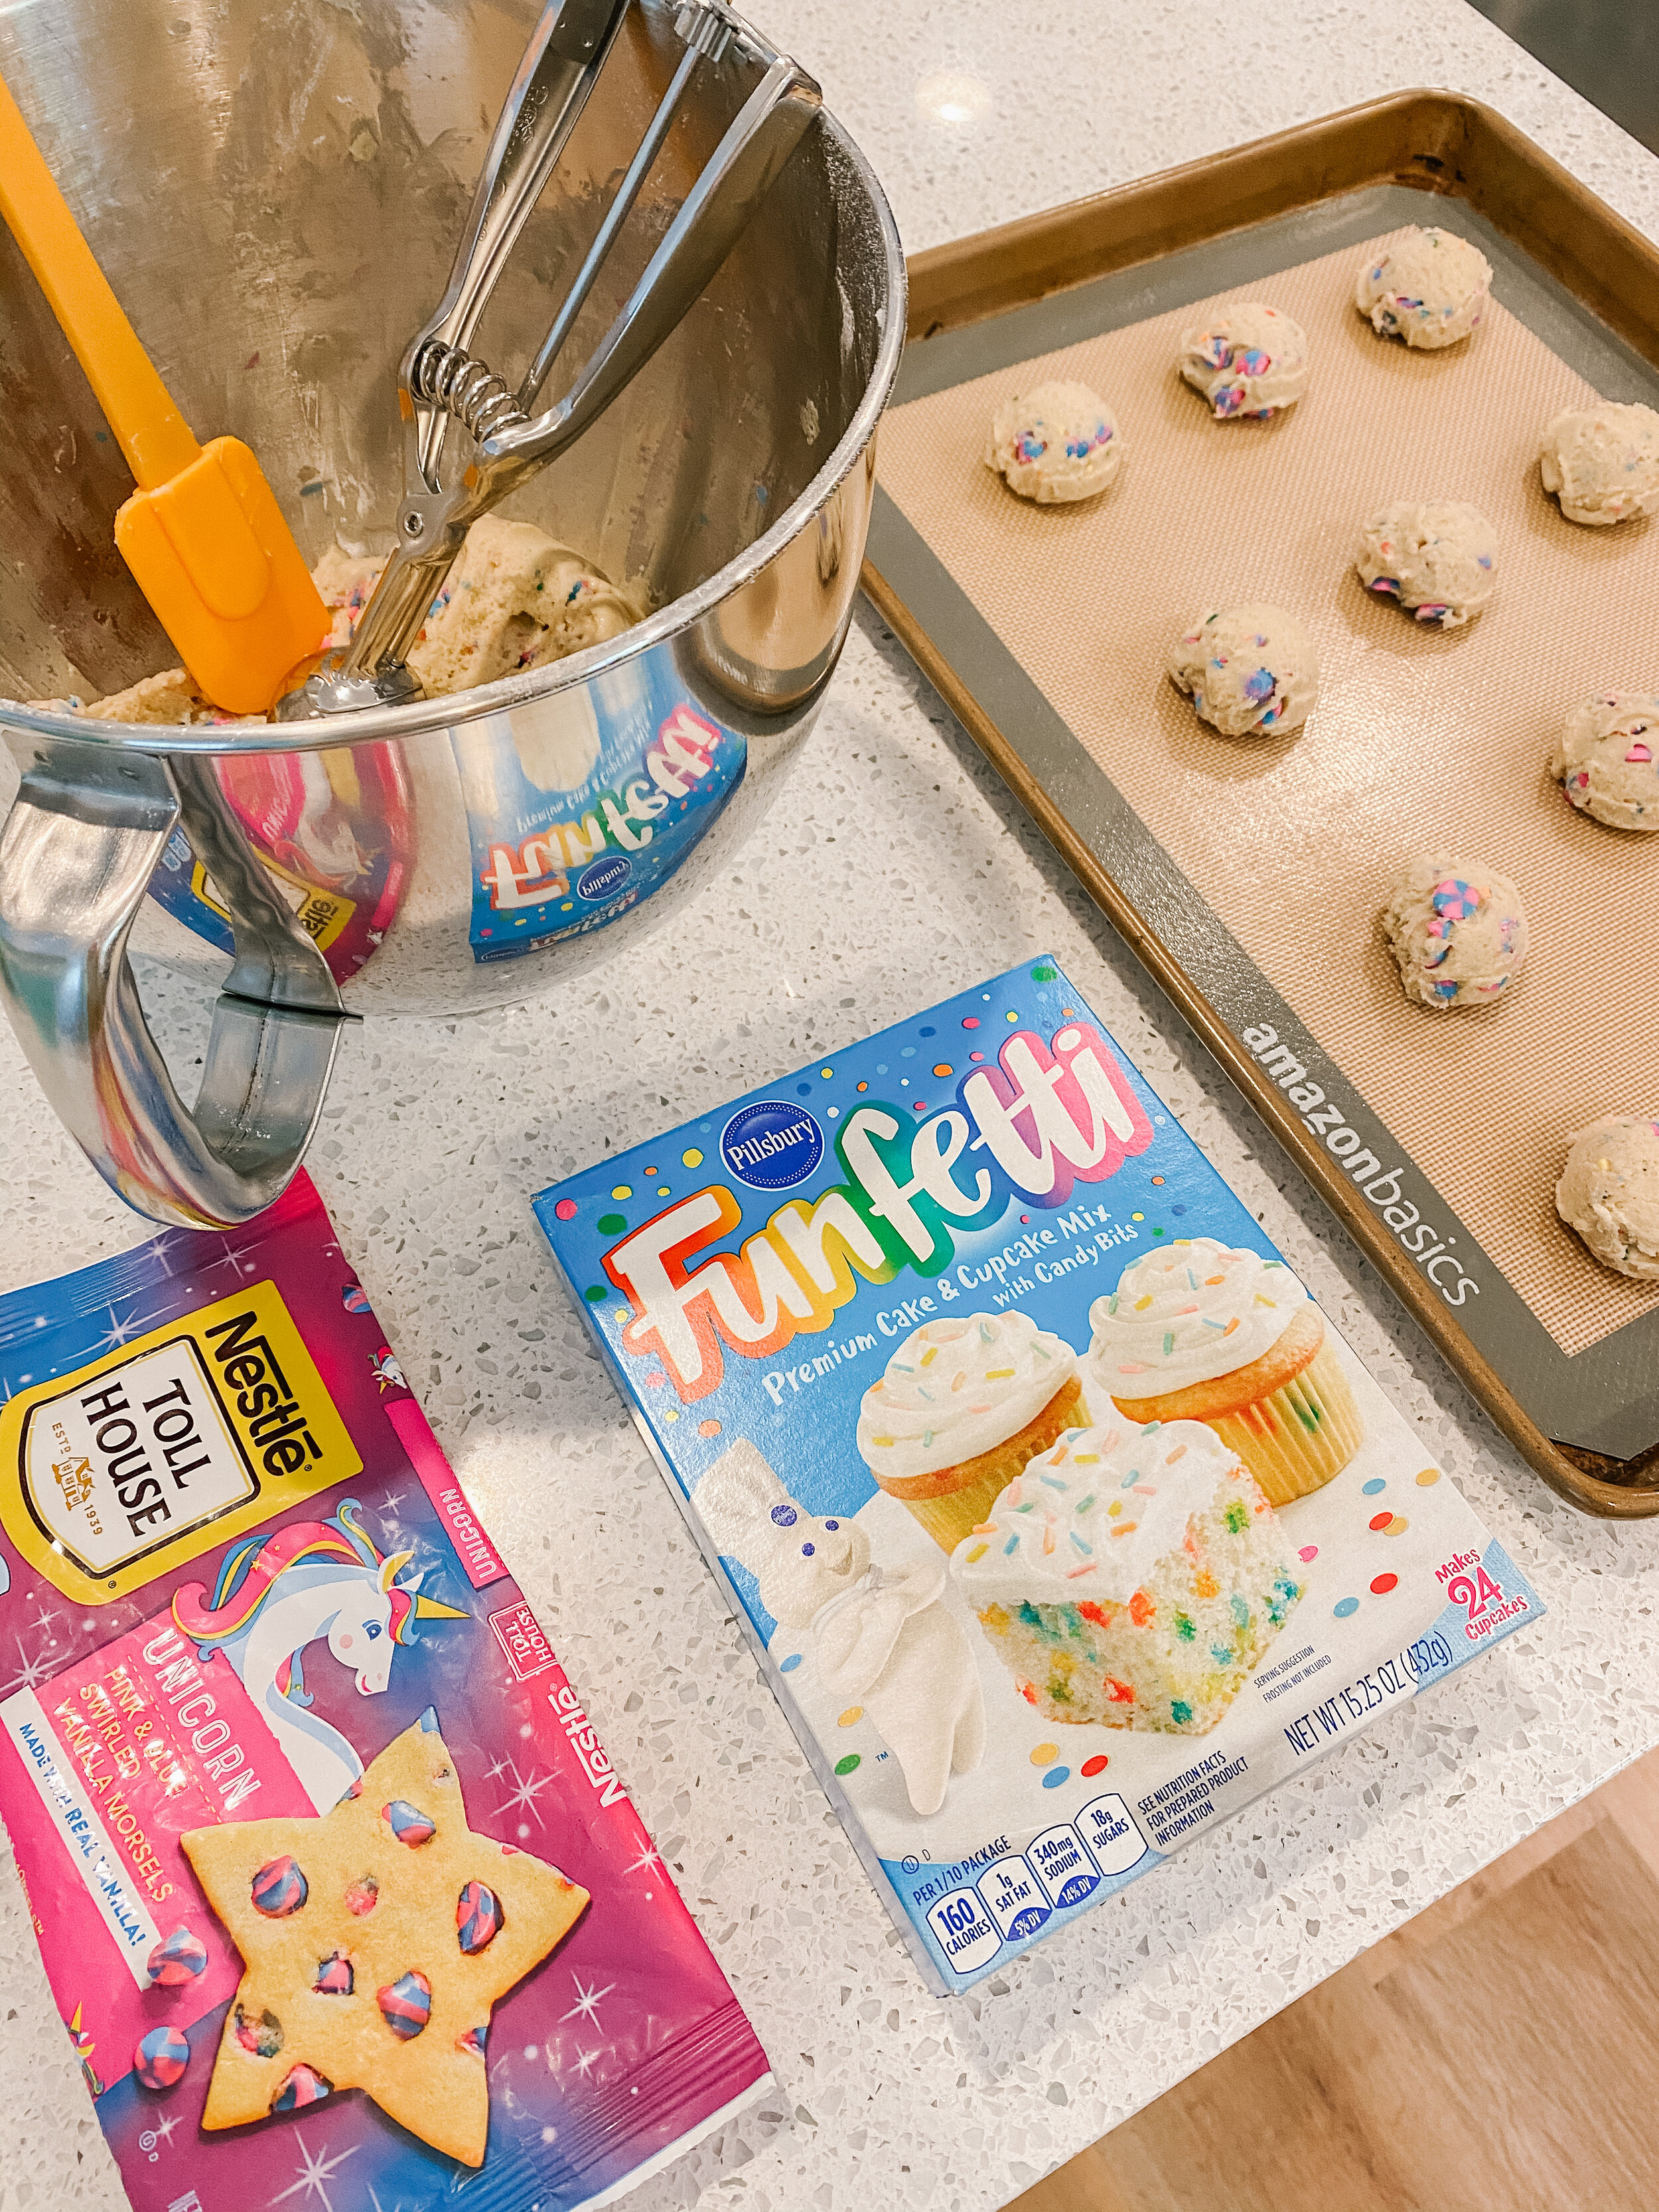
  • 1 box sprinkle cake mix (15.25oz)
  • 1 cup all purpose flour
  • 1-2 cups of Toll House Unicorn Morsels (I'm not going to tell you how much to do, you do you) 

Instructions:

  1. Preheat over to 350º
  2. In a stand mixer, cream together butter and sugar for 1 min.
  3. Scrape sides of  bowl, add eggs & vanilla. Mix until Combined.
  4.  Add cake mix & flour and mix until dough comes together.
  5. Add unicorn morsels. (you do you) 
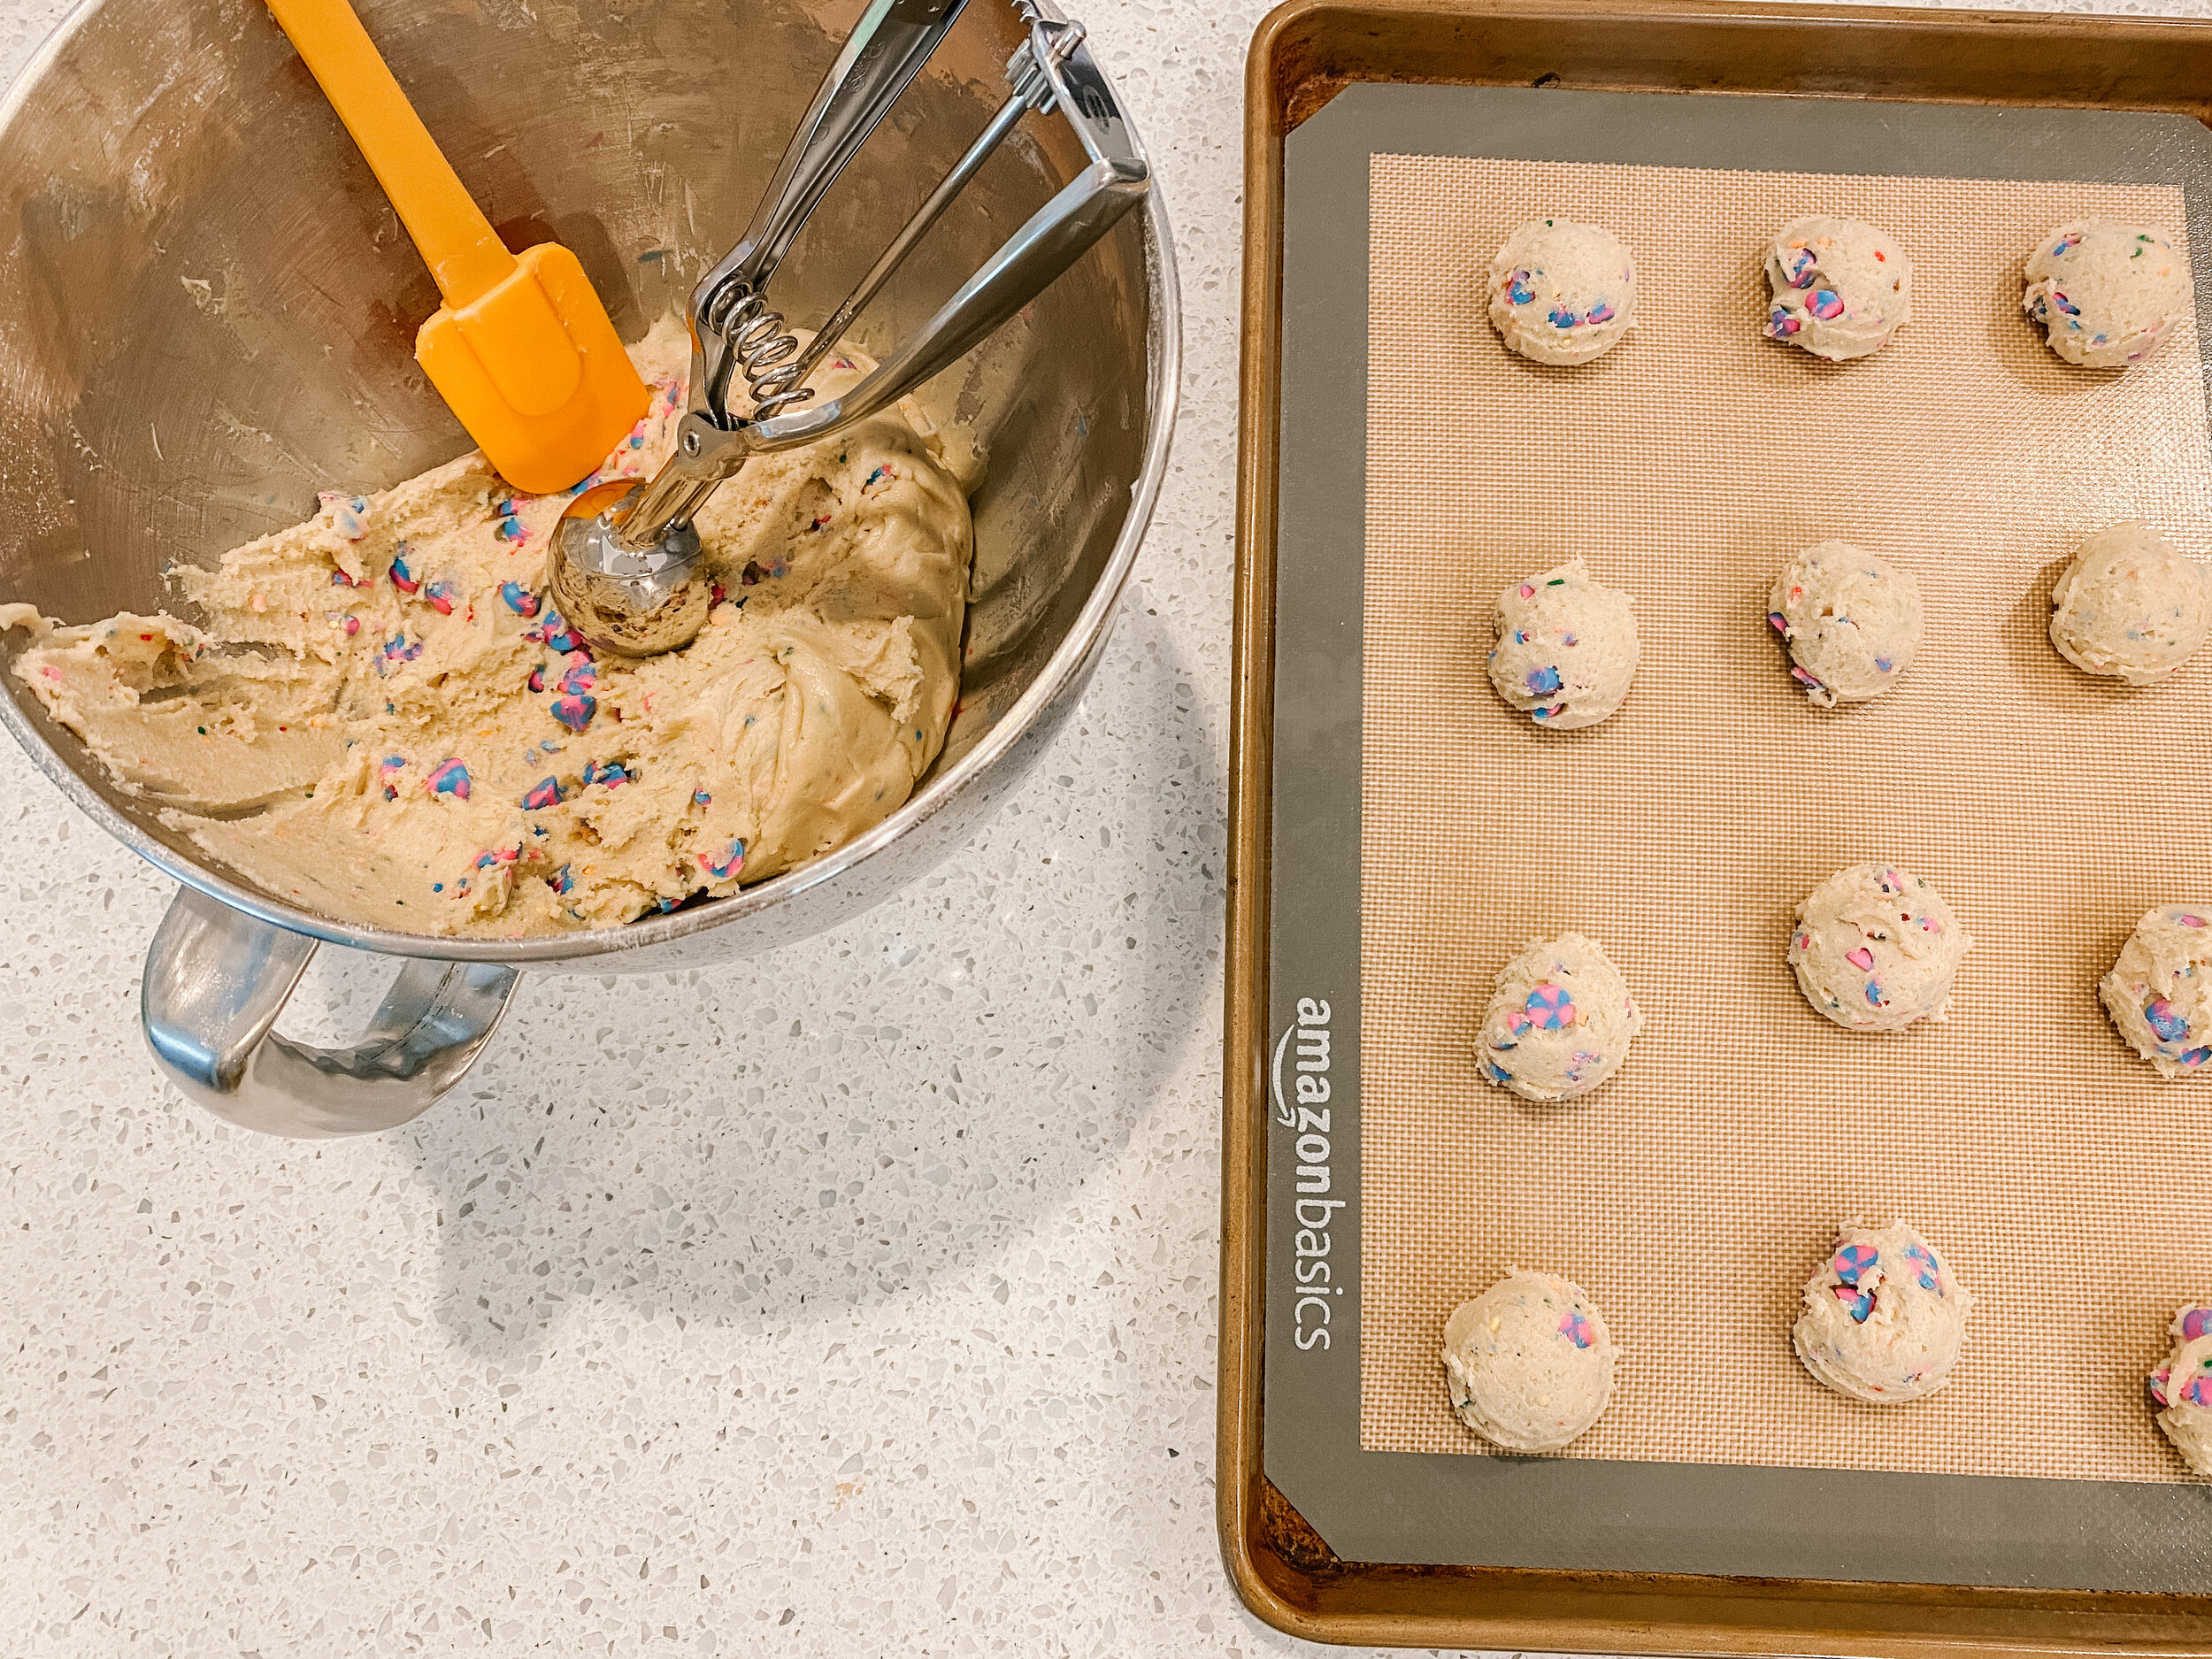
  6. Scoop dough into 1-2 inch balls. I usually use my small pampered chef scoop, and then gently flatten.
  7. Bake 9-10 min, until VERY lightly browned.
  8.  Allow to cool 1-2 min after taking out of oven before transferring to cooling rack.
  9. Store at room temperature in air tight container. I apologize in advance for your new addiction. 
Did you make this recipe?
Tag @jordanne__marie on instagram and hashtag it #jordannemarielovessharing
Created using The Recipes Generator

Teach-It Tuesday: Gel Nails

One of the number one questions I get asked about is how my nails are always so cute and nicely painted, while having three kids. And the number one reason I never share is because I feel like I am not an expert on this subject. I am not a trained nail technician, and the way I apply my gel polish may not be entirely correct so I don’t want to hear criticism if it’s incorrect.

The truth is: I own a gel nail light. My mom is a hair dresser and I have access to stores that only certified cosmetologists are allowed into. (which is where a good portion of my colors are from). As a mom of three, there isn’t much time to go to the nail salon, so I make sure I can do my own at home!

IMG_2363.jpg

SUPPLIES:

  • Cuticle Remover

  • Cuticle Pusher & Nipper

  • Nail File & File Block

  • Nail Clippers

  • Gelish pH Bond, Foundation, Top Coat & Nourish gel

  • Rubbing Alcohol & absorbent Stripes (I actually get waxing sheets and cut them into small strips)

The Process:

  1. Begin by using the cuticle remover, and apply it to the base of your nails. Using the cuticle pusher, gently push back the cuticles. Use the cuticle nipper very carefully and clear away the excess dead cuticle. The idea is not to remove the healthy cuticle, mainly because it will hurt and make you bleed.

  2. Use a nail file and block to create the desired nail shape. [Fun Fact: when filing the tip of your nail, it is not a good idea to saw back and forth at the nail. Only go in one direction.]

  3. Using the same file and block, rough up the surface of the nail. This will help to ensure your manicure lasts longer and has a good surface to adhere to {but don’t go too hard or deep}.

  4. Apply a layer of the pH bond. Let cure in the gel light for 5-10 sec.

  5. Apply a very fine layer of the Gelish Foundation, making sure to have it completely cover the nail and also the tip top of the nail. Then let cure in the gel light for 30 sec. It’s important to note that if you make a mistake and get color or the base or top coat on your skin, a q-tip dipped in rubbing alcohol can clean it up quick.

  6. Now comes the color. Depending on desired pigment apply 1-3 light coats of your color and let cure for 30 secs for each coat.

  7. Finally apply the top coat. Let cure for 30 sec under the gel Light.

  8. Once it is all set, using the stripe and some rubbing alcohol, remove the access and polish each nail. They should be all set and you can touch them immediately.

It’s important to note that if you make a mistake and get color or the base or top coat on your skin, a q-tip dipped in rubbing alcohol can clean it up quick.

Watch me do a quick basic gel nail application

So, as I said, I’m not an expert on this. This is merely what I do, and I’m sure there are things I do wrong. I have pretty oily nail beds, so my manicures only last about a week-week & a half before they start to peel up.

I have set up links to all my favorite products on Amazon! Just click on the photos below! And also linked a quick hyperlapse of me painting my nails. :) Hope this helps and please let me know if you have any questions!

Free Valentine’s Printable

IMG_1792.jpeg

I was so excited when so many responded to my poll last night about wanting this available as a printable!! I hope you all will share it with me if you do use it, because I always love seeing when you’re loving what I’m doing!

I set this file up as an 8.5x11 sheet of paper and then just print it off on card stock!

IMG_0865.jpeg

MATERIALS:
-Ring Pops
-CardStock
-Clear plastic treat bags
-Adhesive (i like the tombow tape)
-Scissors or Paper cutter

Just save the file and print! And as always please tag me on social media so I can see, because I love knowing that you guys love the things I create!! <3 Happy Valentine’s Day!! (Or in my family, Happy Fallontime’s Day!) Hope it’s a day full of love!

IMG_0866.jpeg

Teach-It Tuesday: Wood Slice Fall/Winter Decor Tutorial

I’m pretty excited that I finally am able to get this post done, just in time to line up with my “Teach-it Tuesday” blog series. One of the most asked questions in my DM’s is for tutorials, (handlettering, makeup, hair, eyebrow) and if I’ve learned anything these past few years, if you really want to grow your platform give the people what they’re asking for.

So friends, today I want to help you guys make something fun for your home that will transition from fall into winter!

IMG_4766.JPG

Supplies: (all available at Michaels)
Wood Block
Sharpies (Metallic Silver, Gold & Black)
Black (or white) Acrylic Paint
Paint Brush
Pencil

1. Paint wood block
2. With the pencil, lightly layout the design for your block.
3. Ink in the design with Sharpies
4. Erase pencil lines
5. Style in your home

Using one wood slice, create a sign that will transition from Fall to Winter! www.jordannemarie.com/blog

I’ve shared some of my designs that I have in my home, so you can create your own! More Christmas & Holiday designs will be coming soon!

IMG_4458 copy.JPG
IMG_5236.JPG

All designs are the intellectual property of Jordanne Marie, and is illegal to recreate and sell. Please be kind and don’t steal.