

It was 2014, I was trying to figure out my first Christmas as a new momma and felt this overwhelming pull to do something creative. (I swear, that’s the story of my life as an artist… always looking to do something creative). I had just bought two 6 packs of navy & white glass bulb ornaments and had some left over paint pens from a previous project. I can make an ornament for Jonathan, like my mom used to do for us.

A little background on the ornament making tradition in our family. It goes back to the late 80’s, when my mom had the same desire to make something creative for her kids, and so the yearly ornament was born. She would create a new design every year and make one for her kids and all of her nieces and nephews. (And my family is a big Irish Catholic family, so there is A LOT of us) <3 Somewhere around 2007-08 my mom decided to call it quits on the ornaments as her kids started to grow up and finish high school.
It only felt natural with my love of Christmas, to carry this tradition on, but the really fun element for me, was it was a way to spread this joy and love all over the country. If the only good thing about social media and the internet was that it helped to connect people who wouldn’t have normally met in other circumstances to somehow find people they enjoy or have things in common with, I’d say its been worth it.

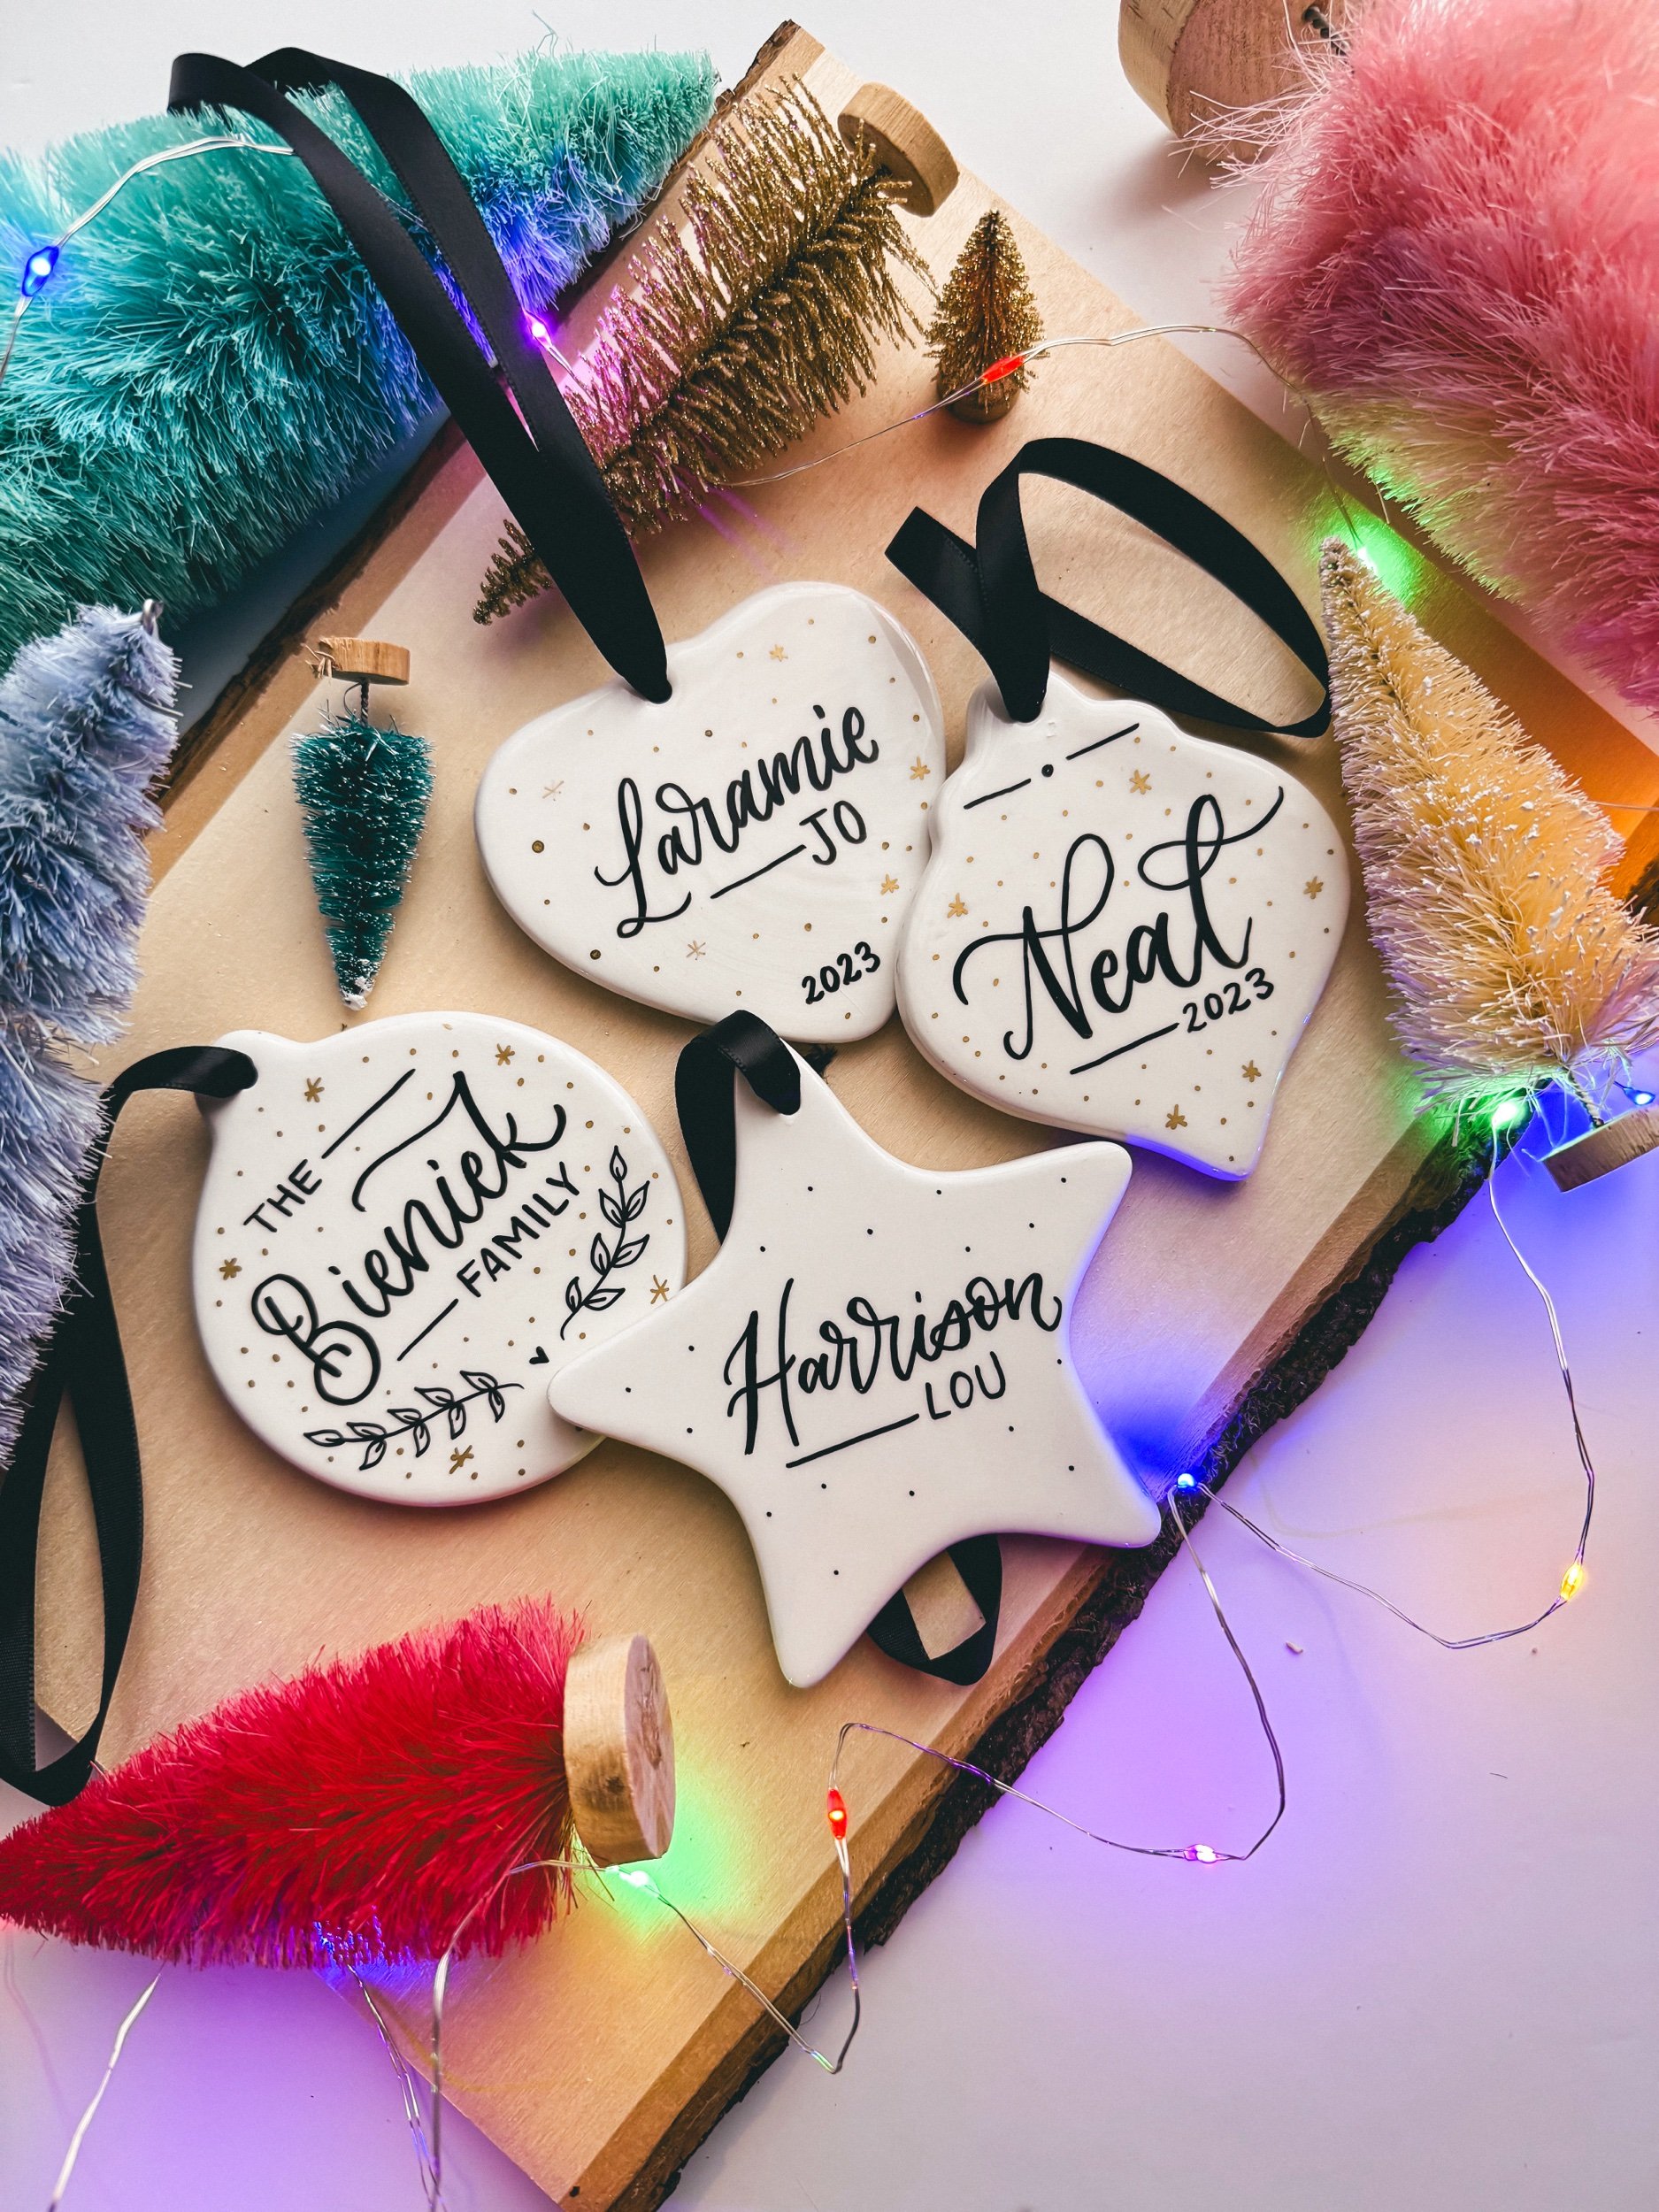
It started off slow… maybe 15 orders my first year, 25 my second year… but then I started added designs and options. And the orders starting coming in… ways for people to remember their loved ones, milestones, thank clients, celebrate family parties & special moments. I am always so honored whenever an order comes through and I see what new special ornament I get to make for someone, or how I get to create something that can bring joy or peace to their heart when they hang it on their tree.

My second year, we had been feeling a hole in our hearts for the baby we had lost earlier that year, and making an ornament to remember him always fills my heart when I see it and know he is with us and watching out for his siblings from heaven. That year, I asked people to submit friends or family members who have experienced loss of a pregnancy or infant to send me their address so I could bless them with an ornament. Praying over those ornaments that they would give those families peace like I felt remembering my sweet baby.
This is my seventh Holiday season making ornaments for people, and the joy of doing this has only grown. I love getting to come up with new ideas and designs. I mean this from the bottom of my heart, so much love goes into every design, so much prayer goes into every launch hoping these new designs bring a smile to someones face. Christmas can be hard for so many, so I pray I can bring simple joy to those who need it most.
If you have ordered in the past, Thank you… If you plan to order this year… Thank you. You have helped me find an identity outside of being a mom, that allows me to help provide a modest Christmas for my family, especially these past few years as we struggle towards financial stability.

2020 has been hard for so many reasons, but let’s make a plan to make these last 60 days of the year so joyful and full of cheer!
I’d love to make something for your Christmas tree this year! I find so much joy in making every detail special! <3
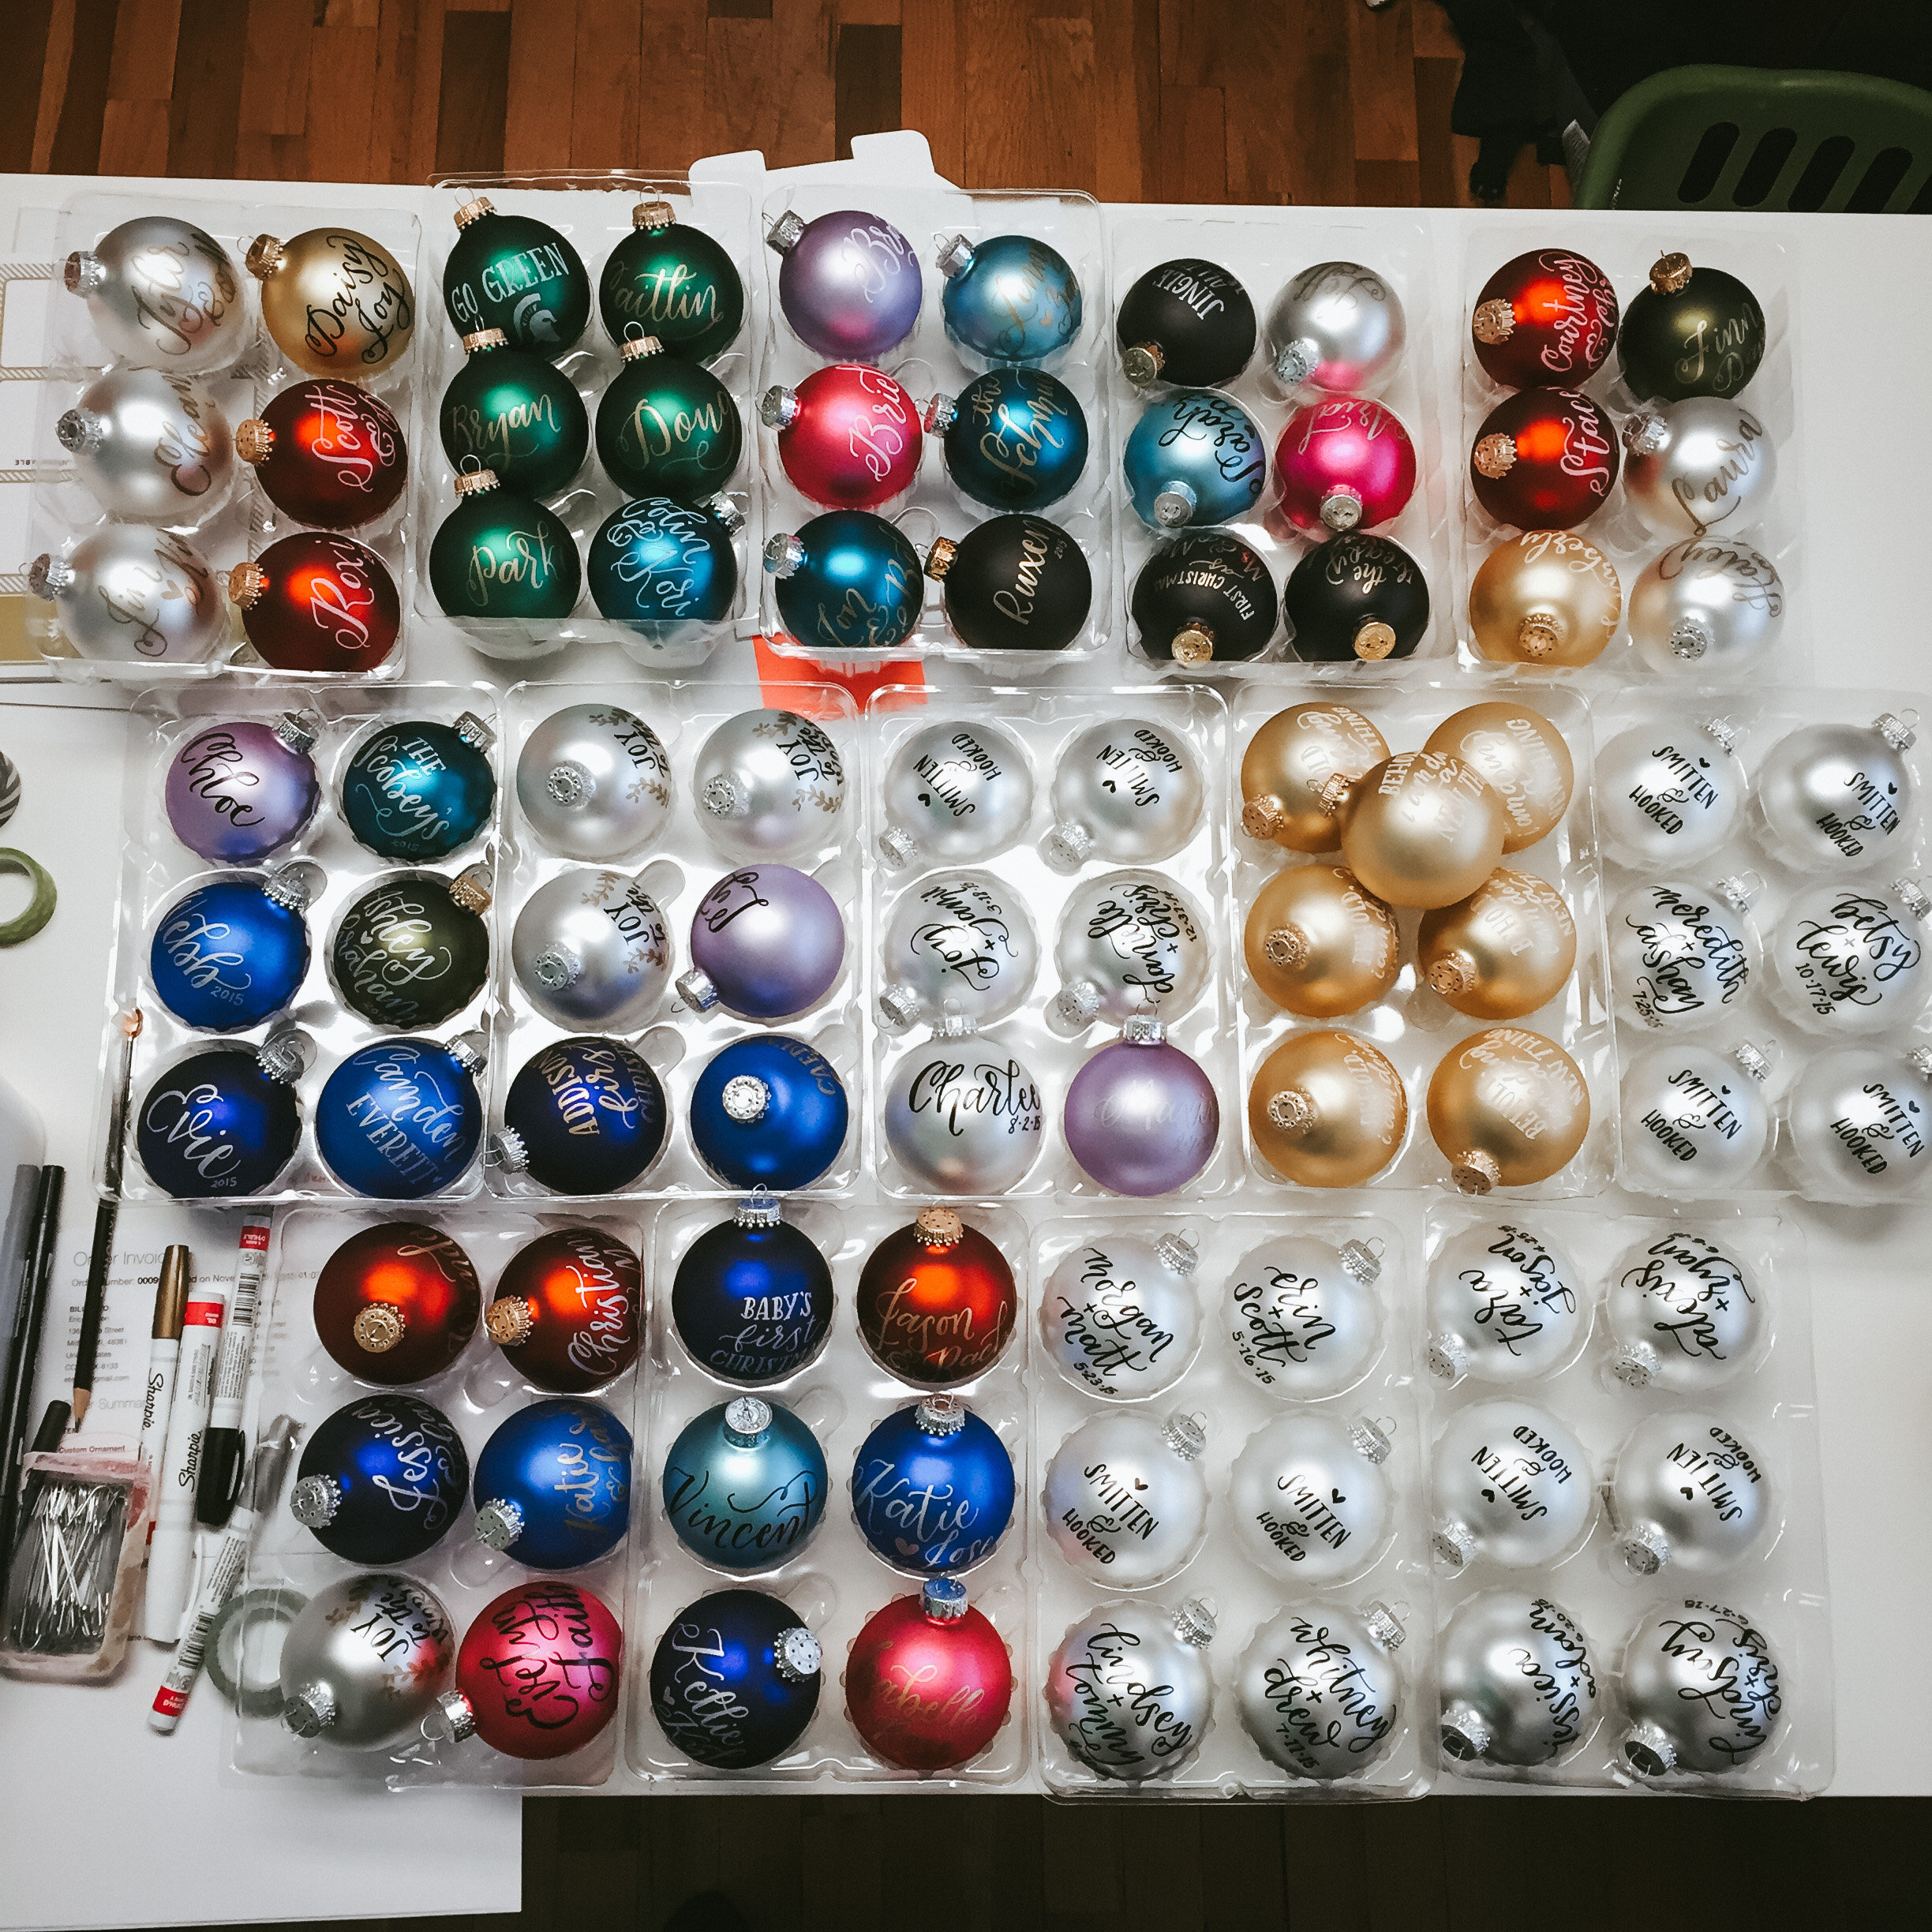
a portion of orders from 2015

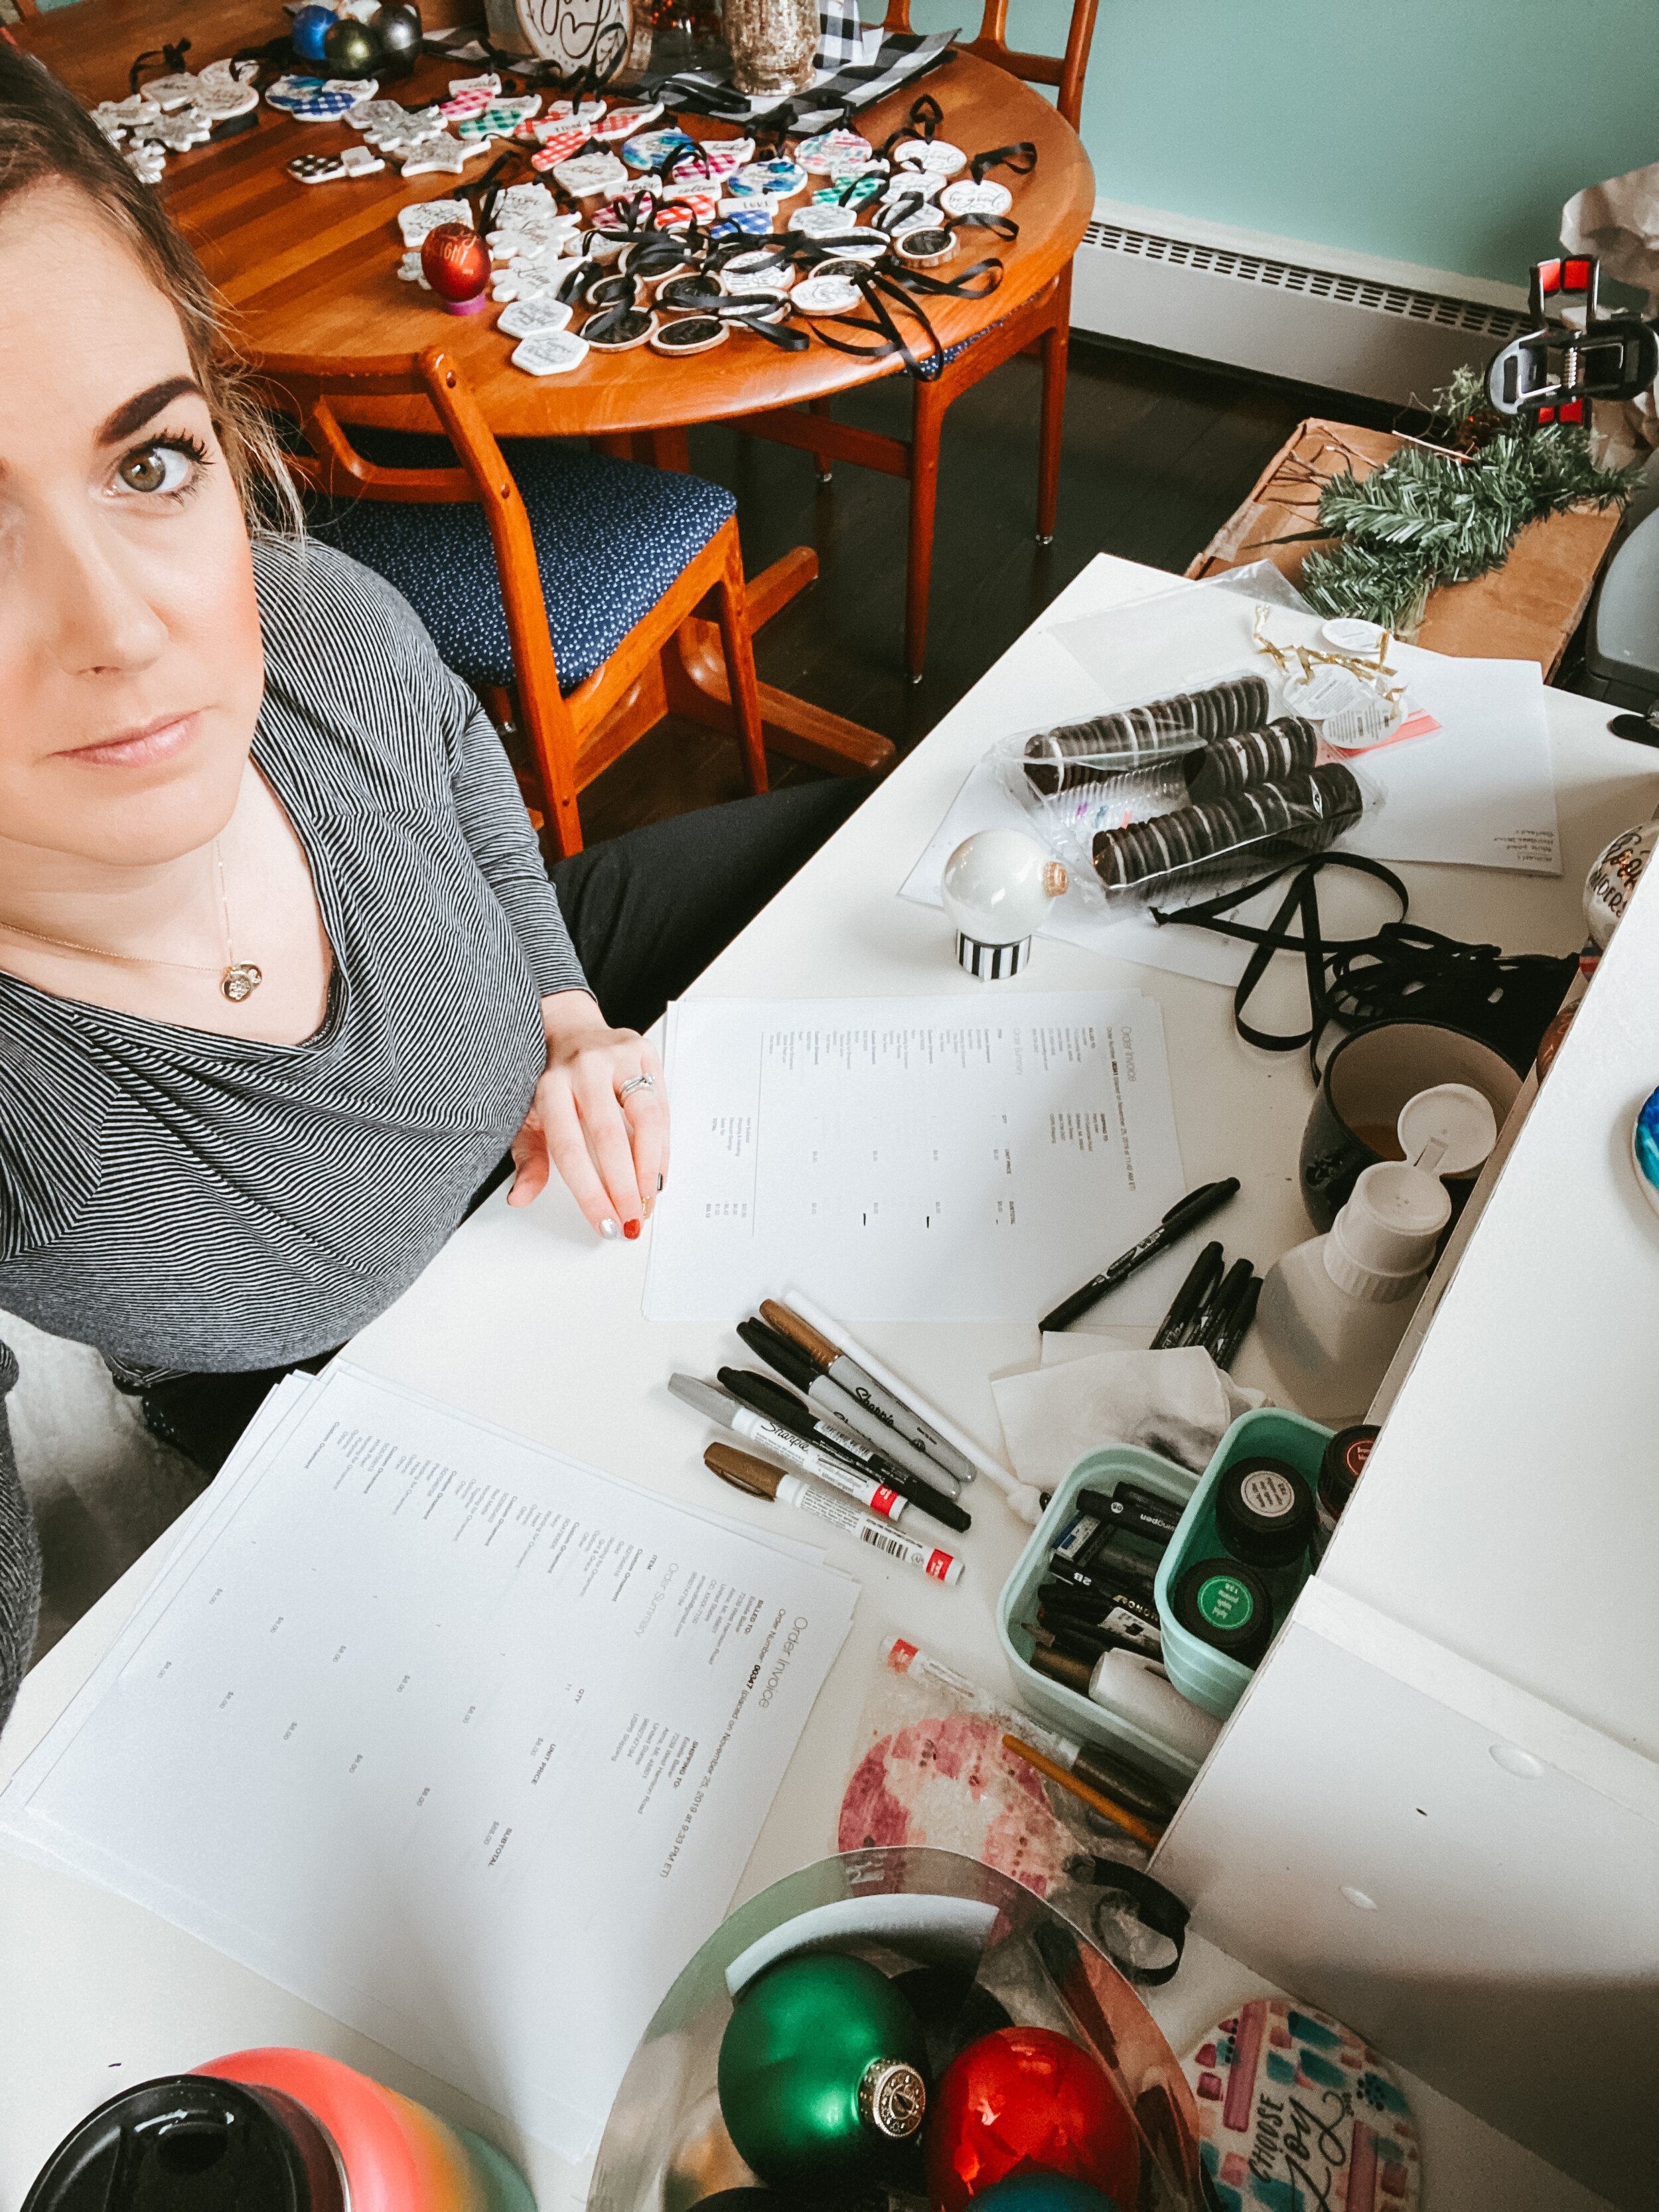
a small portion of orders from 2019